How to configure Telnet Sever and Client in Linux
Telnet (Teletype Network) allows you to access and manage remote devices via a command-line interface. It operates on a client-server architecture. The server component installs on the device you want to access remotely. The client part installs on the device you use to access the remote device. It uses TCP/IP over port 23. This tutorial explains how to configure a Telnet server on RHEL.
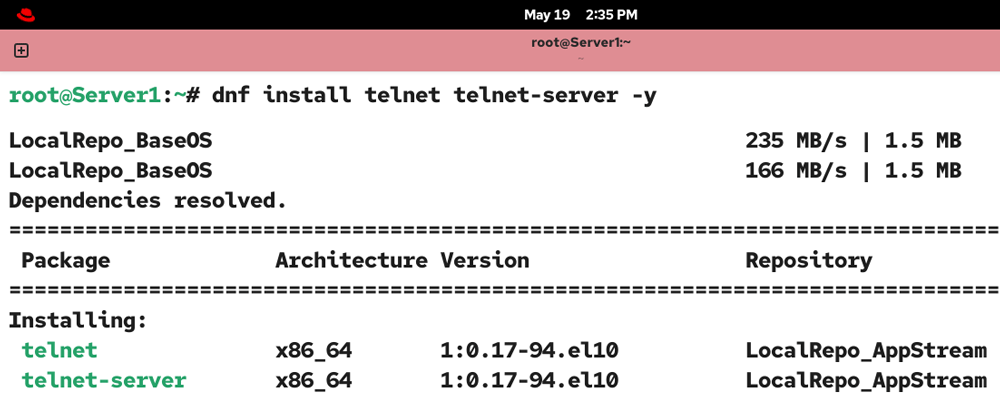
By default, Telnet is not available on RHEL. To use it, you need to install it first. The following command installs both the server and client components.
dnf install telnet telnet-server -y
The telnet package provides the telnet client program. The telnet-server package provides the telnet server.
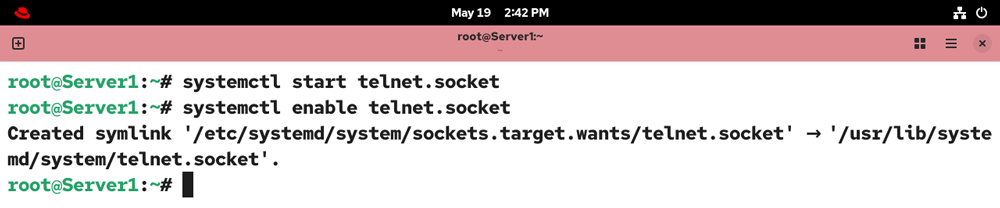
The following command starts the telnet server in the current session.
systemctl start telnet.socket
To start it automatically at startup, use the following command.
systemctl enable telnet.socket
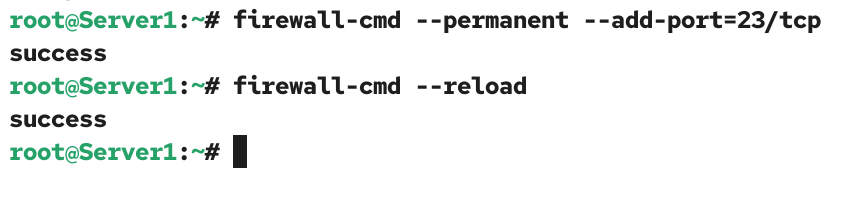
By default, the firewall does not allow telnet connections. Use the following command to allow telnet connections through the firewall.
firewall-cmd --permanent --add-port=23/tcp
The following command reloads the firewall.
firewall-cmd --reload
Use the following command to verify the status of the telnet service.
systemctl status telnet.socket
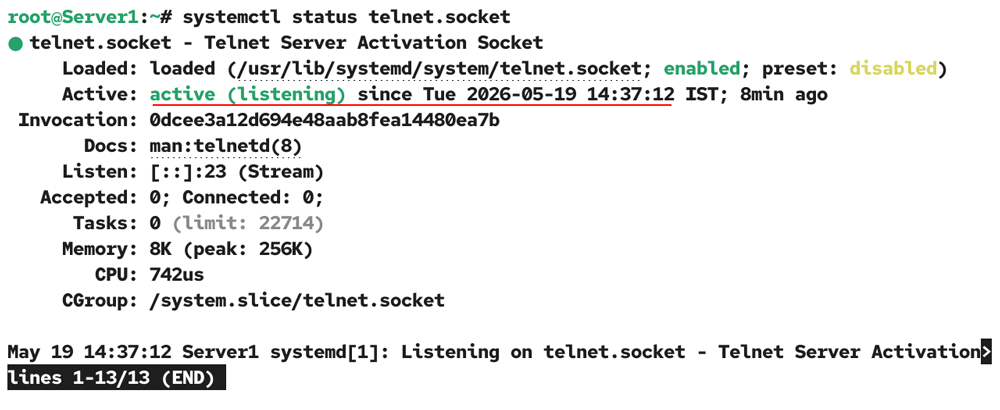
At this point, the telnet server is up and running. You can either use existing local user accounts on the server system to log in from the client system or create separate user accounts. The following commands add a new user account and set its password.
useradd telnetuser
passwd telnetuser
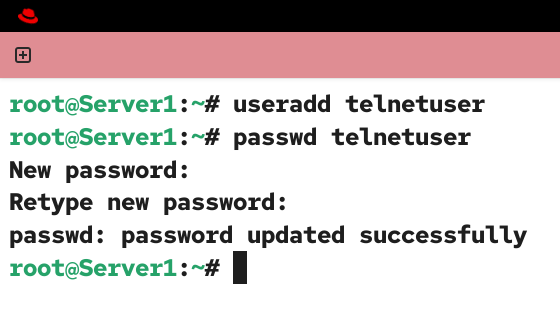
Replace telnetuser with your username.
Accessing the telnet server
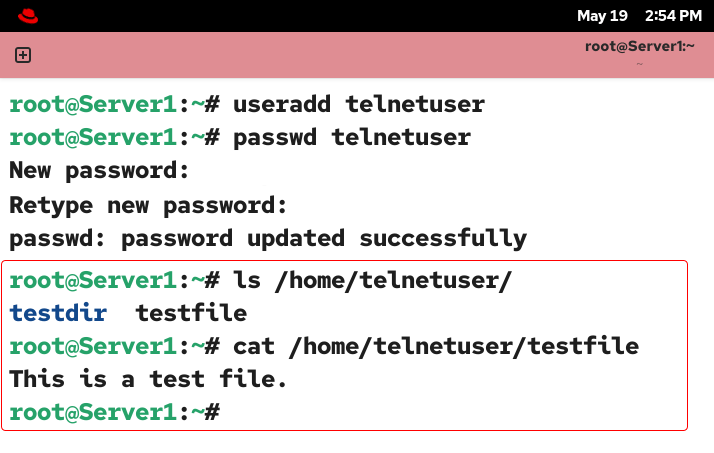
You can use any system or device as the telnet client as long as the telnet client program is installed on that system or device. To access the telnet server, use the following command on the client system. Use the username and password you created on the server to log in. After logging in, you can use the server system as the local system. To verify it, create a file and a directory and exit the telnet session.
telnet telnet_server_ip

Check the user's home directory on the server system.
Conclusion
This tutorial explained how to install and use the telnet server on RHEL Linux. Telnet is a classical protocol. It sends data over the network in an unencrypted format. Although you can install it on modern Linux, do not use it in a production environment. A hacker can easily steal data from the middle of a session. Instead, you can use SSH, which is also the default protocol on modern Linux.
Author Laxmi Goswami Updated on 2026-05-20