Virtualized Intel VT-x-EPT is not Supported
GNS3 and EVE-NG are network emulator software. Both allow you to emulate and use various networking devices for testing and troubleshooting purposes. Both utilize virtual machines to save IOS images. VMware Workstation is one of the most widely used virtualization software for creating virtual machines. Both emulators provide pre-built virtual machines for it. You can download and import them into it. If you are on a Linux system, this process is straightforward. However, if you are on a Windows system, the imported virtual machine does not start. The booting process halts with the following error.
Virtualized Intel VT-x/EPT is not supported on this platform.
Continue without virtualized Intel VT-x/EPT?

If you select Yes, it shuts down the virtual machine with the following error.
VMware Workstation does not support nested virtualization on this host.
Module "HV" power-on failed.
Failed to start the virtual machine.

Until you fix this issue, you can not use these virtual machines. To resolve this issue, you need to disable Hyper-V and several related settings.
Disabling Hyper-V
Windows includes a default virtualization tool called Hyper-V. Some necessary features of the GNS3 or EVE-NG virtual machines conflict with it. You can not use them together. You can either use these emulators without virtual machines or disable Hyper-V. Disabling Hyper-V and its settings is not as simple as it sounds. It involves several complex steps. Executing these steps incorrectly can lead to an unexpected outcome or failure to disable Hyper-V. The following section provides a detailed explanation of these steps and outlines the correct procedure for their execution.
Enabling virtualization in BIOS/UEFI
Restart your computer and access BIOS or UEFI by pressing F2 or F10. Switch to the Virtualization tab, enable the following setting, save the change, exit the BIOS/UEFI, and start the system.
Intel Virtualization Technology
Enable Intel Virtualization Technology (VT)
When ON, the system will be able to run a virtual machine monitor (VMM).

Removing Hyper-V from Windows features
Open the "Control Panel" and access the "Turn Windows features on or off" setting. Uncheck the "Windows Hyper-V Platform" and "Virtual Machine Platform" options, and then save the settings.

The name Microsoft uses for this feature varies in different versions. For example, you may find it under the name 'Hyper-V' or 'Windows Hyper-V'. Uncheck all settings related to Hyper-V and Virtual Machine.
Open PowerShell as an administrator and run the following commands.
bcdedit /set hypervisorlaunchtype off
Disable-WindowsOptionalFeature -Online -FeatureName Microsoft-Hyper-V-Hypervisor

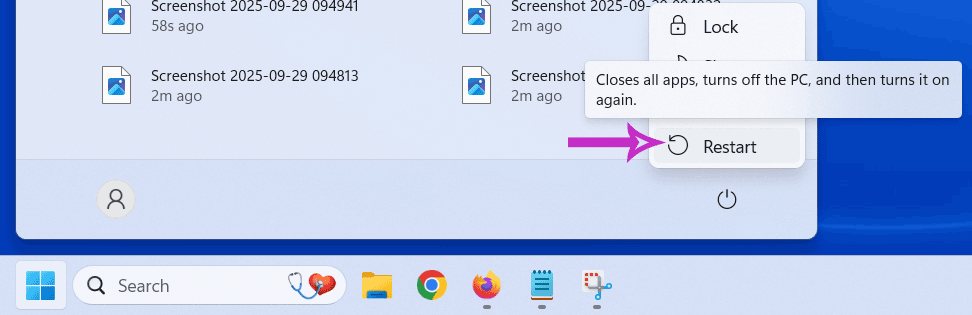
After disabling Hyper-V, restart the system.
Start the GNS3 or EVE-NG virtual machine. If it starts, you do not need to change or update any other settings. You can continue with your GNS3 installation or configuration.

If it does not start, you need to disable two more features: Device Guard and Credential Guard.

Disabling Device Guard and Credential Guard
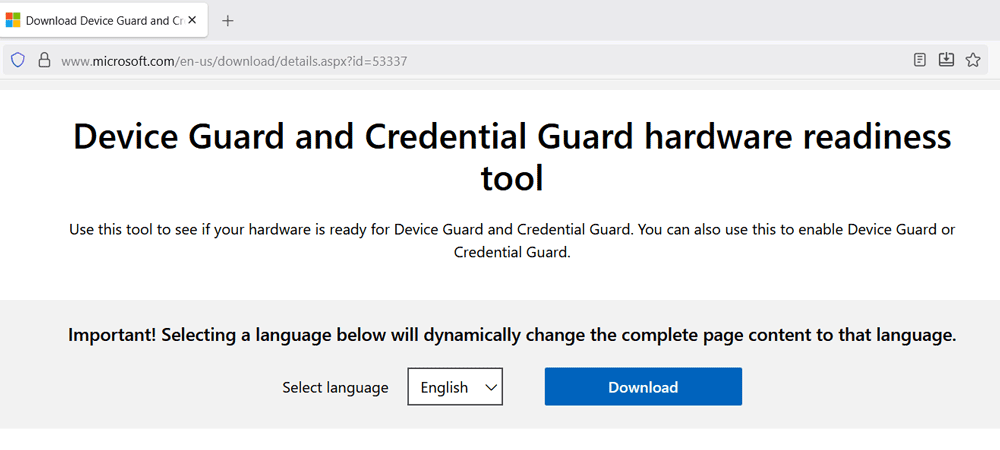
Device Guard and Credential Guard protect the system from malware and enforce integrity by blocking unauthorized applications and code. Both use Virtualization-based Security (VBS) and Hypervisor-enforced Code Integrity (HVCI). If these options are enabled, the GNS3 or EVE-NG virtual machine will not start. Microsoft provides a script to manage these options. You can download this script from the following link.
Device Guard and Credential Guard hardware readiness tool
[Mirror]
Script for managing Device Guard and Credential Guard
Use the mirror link only if the official link is not working. It contains the same script. It is only for backup in case Microsoft removes this script.
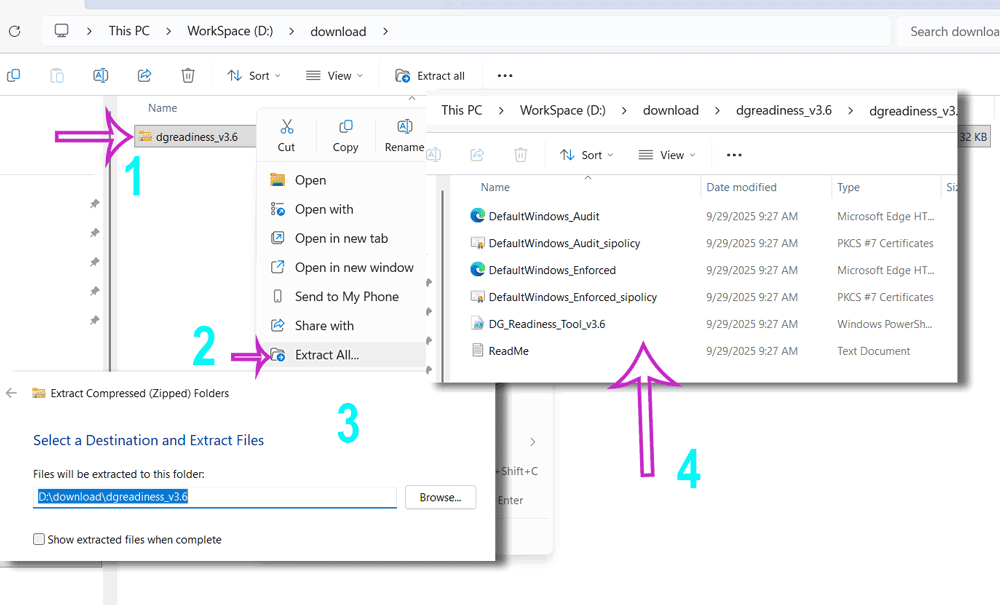
This script is in zipped format. Switch to the download folder and extract the downloaded file.
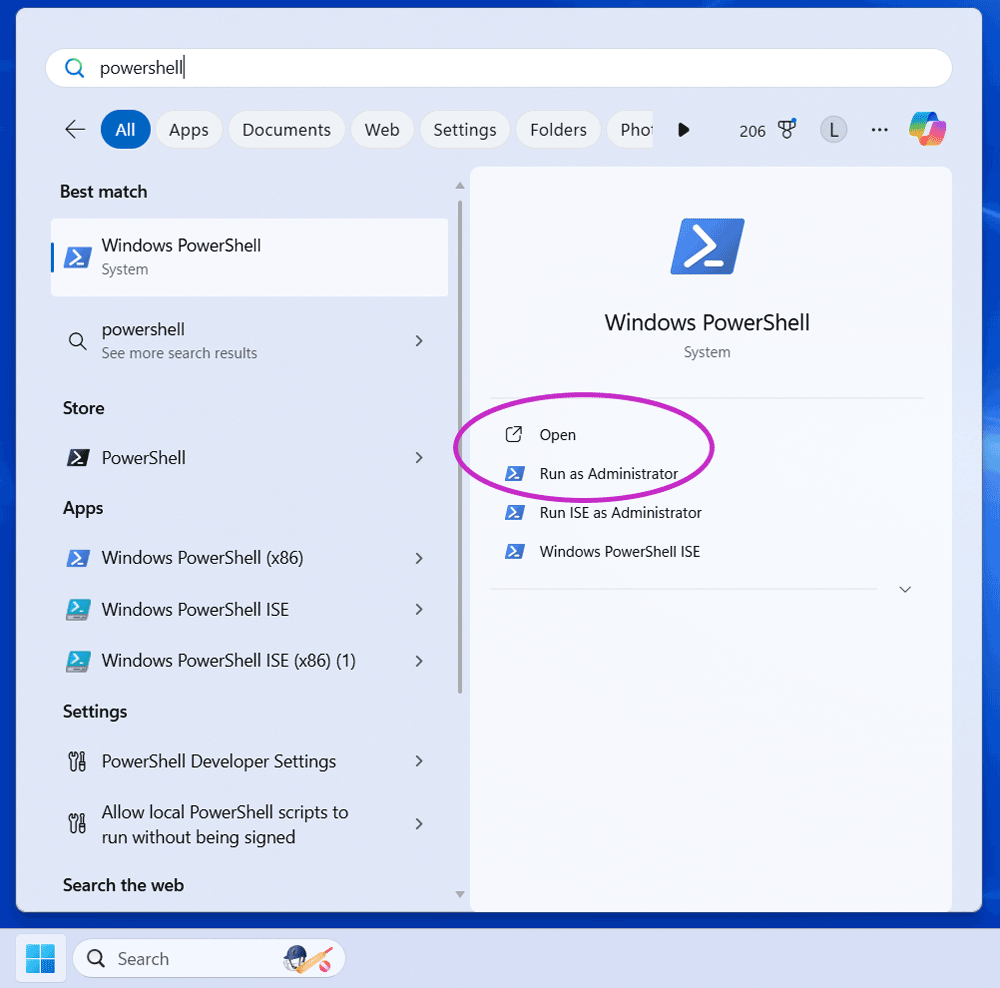
Open PowerShell as an administrator.
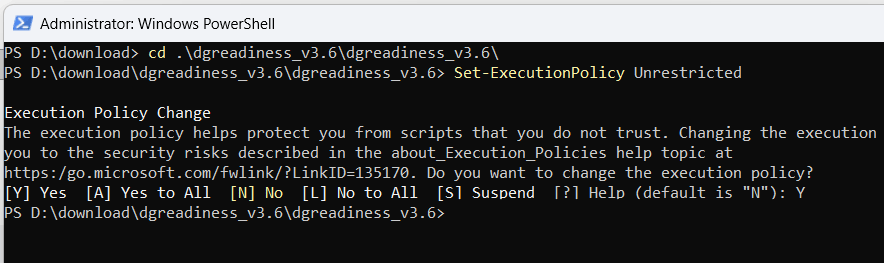
Change the current directory path to the folder containing the extracted script.

This script changes system settings. The default execution policy does not allow a script to change system settings. Run the following command to change the default mode to Unrestricted. Type Y to confirm the change.
Set-ExecutionPolicy Unrestricted
After changing the default execution policy, run the DG_Readiness_Tool with the -Disable option.
.\DG_Readiness_Tool_v3.6.ps1 -Disable
The version information attached to the name may differ to reflect the current version. Check the extracted folder for the exact name or use the auto-completion feature to pick the correct name automatically. To use the auto-completion feature, type 'DG_readiness_Tool' and press the Tab key. Based on your system settings, you may have to press the Enter key twice to execute this command. When asked, type R to confirm the execution.

This script requires a system reboot to take effect. Restart the system.
When the system boots, the booting process shows options to disable Credential Guard and Device Guard (Virtualization-Based Security).
Credential Guard Opt-out Tool
Do you want to disable Credential Guard?
Disabling this functionality can allow malware to read the passwords and other credentials of all users signing on to Windows.
For the correct action in your organization, contact your administrator before disabling protection.

Press the Windows key or F3 to disable Credential Guard.

Press the Enter key. It brings the next option.
Virtualization-Based Security Opt-out Tool
Do you want to disable Virtualization Based Security?
Disabling this functionality changes the security configuration of Windows.
For the correct action in your organization, contact your administrator before disabling.

Press the Windows key or F3 to disable Credential Guard.

After disabling both options, let the boot process proceed normally to start Windows. Start the GNS3 or EVE-NG virtual machine. It will start normally.
Resetting the default policy
Access PowerShell as an administrator and run the following command to reset the script execution policy to default.
Set-ExecutionPolicy Default
Enabling Device Guard and Credential Guard
Disabling Device Guard and Credential Guard typically does not cause any issues. However, if you ever want to enable these options again, access PowerShell as an administrator and rerun the same script with the -Enable option.

Reboot the system and press F3 to enable both options during boot time. However, if you enable these options, the GNS3 or EVE-NG virtual machine will stop working again with the same error.
Conclusion
There is a conflict between the virtualization technology used by Windows' default Hyper-V and VMware Workstation. It stops the GNS3 or EVE-NG virtual machine from starting with the 'Virtualized Intel VT-x/EPT is not supported on this platform.' error. This tutorial explained how to resolve this issue and utilize the GNS3 or EVE-NG virtual machine.
Author Laxmi Goswami Updated on 2025-09-30