How to add, install or import IOS in GNS3
GNS3 is free network simulator software. It emulates and simulates routers, switches, and other networking devices. Cisco uses proprietary software for its routers and switches. This software is known as Cisco IOS. GNS3 can run Cisco IOS. Due to copyright restrictions, GNS3 does not include any Cisco IOS images in its default installation. It only provides a platform for using Cisco IOS, but it does not include any Cisco IOS itself. To use a Cisco device in GNS3, you need to download and import its IOS to GNS3.
How to download Cisco IOS image files for GNS3
You can obtain Cisco IOS image files from many sources. You can get them from a Cisco device or download them from Cisco's official site (it requires an active subscription plan). Many sites store and provide Cisco IOS images for educational purposes. You can use the following search term on Google to find them.
intitle:index.of cisco ios parent directory bin
You can use any working site from the result to download the Cisco IOS image files.
Installing and importing Cisco IOS in GNS3
After downloading the IOS image file, open GNS3, click Edit, and click Preferences.

Navigate to the IOS routers option under the Dynamips section in the left pane, and click New in the right pane.

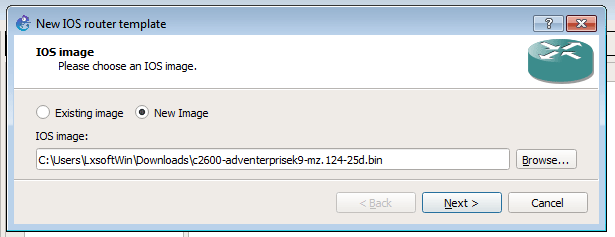
Select the New Image option, click the Browse button, and select the downloaded IOS image file.

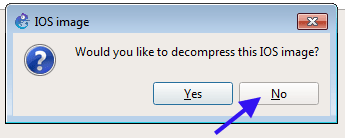
Cisco distributes IOS files in compressed format. GNS3 supports both compressed and decompressed formats. Compressed files not only consume less space but are also easier to manage. Unless you have a specific reason, click No to keep them in their original format.
Verify the file path again and click Next.
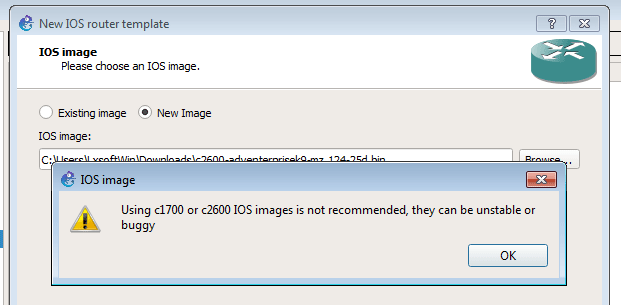
If the selected IOS version is for an outdated device, the wizard displays a warning message. In real life, using an outdated device is not recommended. Since GNS3 uses a real Cisco IOS, it follows the same recommendation and warns you about outdated IOS versions. If you only want to use this device for exam preparation or for hands-on experience with Cisco IOS, you can ignore this message.
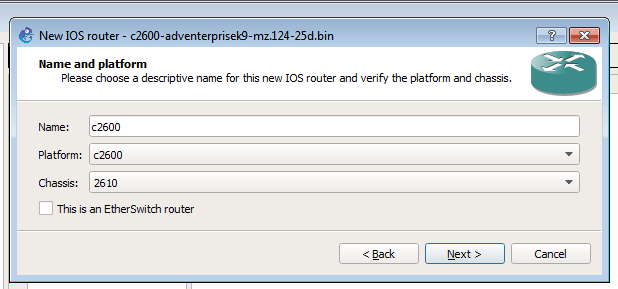
In the next step, the wizard extracts the hardware information (platform and chassis number) from the selected IOS file and displays it on the next screen, along with an automatically populated device name. If the extracted information is incorrect, select the correct platform and chassis number from the drop-down. If necessary, you can also adjust the device name. Verify or adapt the information and click Next to continue.
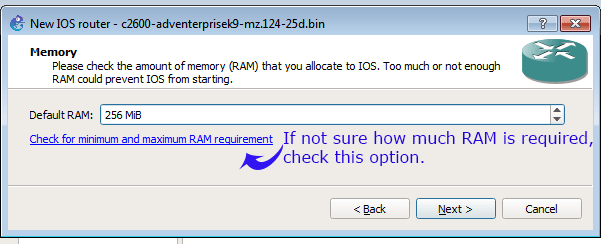
The next screen allows you to set the RAM size for this device. By default, the wizard automatically allocates the minimum recommended memory (RAM) for the device. But if required, you can adjust it.
If the selected IOS is for a modular device, the following screen allows you to install the interfaces into available slots.

Select the appropriate interfaces, then click Next.

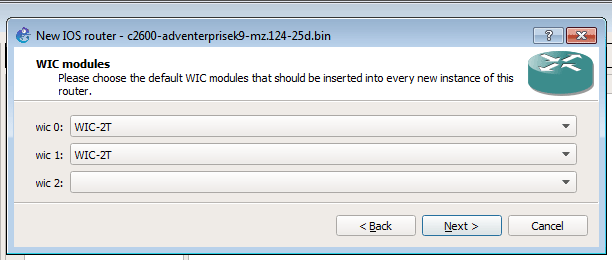
If the selected IOS is on a device with WIC modules, the following screen lets you install WIC interfaces in WIC slots.
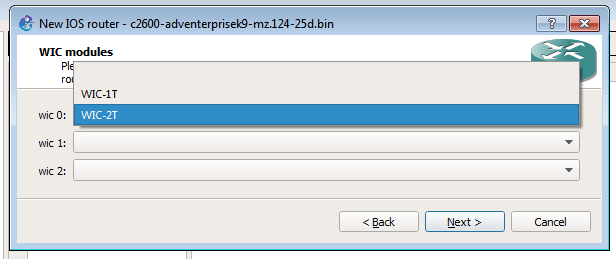
Select the desired WIC interfaces, then click Next.
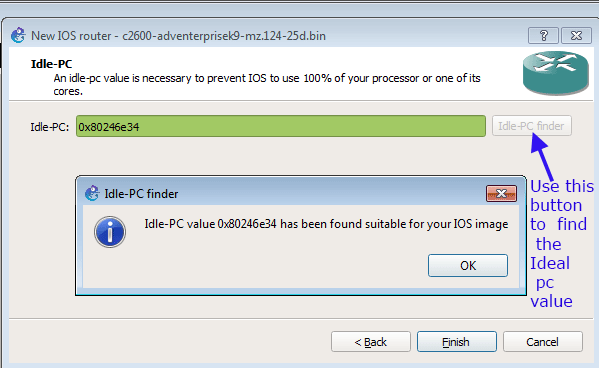
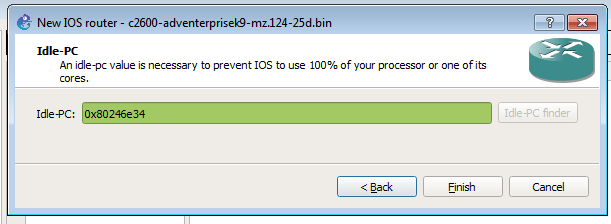
The next screen allows you to define how much CPU this IOS can use. You should always specify this value. This value prevents a buggy or faulty IOS from consuming all CPU cycles. If you configure it, GNS3 prevents the IOS from exceeding this CPU limit. Click the Idle-PC finder button and use the suggested value in this field.
Click the Finish button to close the wizard.
Managing IOS files
The main interface shows all installed IOS image files in the right pane under the Dynamips (IOS routers) section. Select the file that you want to manage. Selecting the IOS file shows the control options in the bottom section.

Control options are the following.
| New | This option installs the new IOS file. |
| Decompress | This option allows you to decompress the selected IOS file. |
| Edit | This option allows you to update the configuration values configured during the installation. It lists all configuration values in the right section of the pane. |
| Delete | This option allows us to delete the selected IOS file. |
This tutorial is part of the tutorial "Installing, Configuring, and Managing Packet Tracer and GNS3". Other parts of this tutorial are as follows:
Chapter 01 How to install and activate Packet Tracer in Windows
Chapter 02 How to install and start Packet Tracer in Ubuntu
Chapter 03 Difference between emulation and simulation
Chapter 04 Differences between Packet Tracer, GNS3, and Cisco VIRL
Chapter 05 What are GNS3-all-in-one and GNS3
Chapter 06 GNS3 Setup Wizard Options Explained
Chapter 07 How to Install GNS3 Explained
Chapter 08 GNS3 Terminology and Overview
Chapter 09 How to Import IOS in GNS3
Conclusion
This tutorial explained how to download Cisco IOS image files and import them into GNS3 to set up a robust networking environment for learning and experimentation. By taking advantage of GNS3 with Cisco IOS, you can prepare for certifications, improve your networking skills, and gain valuable hands-on experience without the need for physical devices.
Author Laxmi Goswami Updated on 2025-10-30