How to Install GNS3 Step by Step Explained
GNS3 works in a Server/Client model. The Client provides a GUI-based environment for creating and testing network topologies. The Server stores and runs all virtual devices you use in the network topologies. To use GNS3, you need both Client and Server.
You have three options for installing and configuring the GNS3 server. You can configure the local system as a GNS3 server, create a virtual machine on the local system and configure it as a GNS3 server, or use a remote machine or a cloud account to install and configure a GNS3 server on it. No matter which option you choose for the server part, the installation and configuration steps for the client part are the same. This tutorial explains how to install the client part on a Windows system.
Downloading GNS3
Download the latest version of GNS3 from its official site.
https://www.gns3.com/software/download

Installing GNS3 on Windows
After downloading GNS3, open the folder where you saved the files.

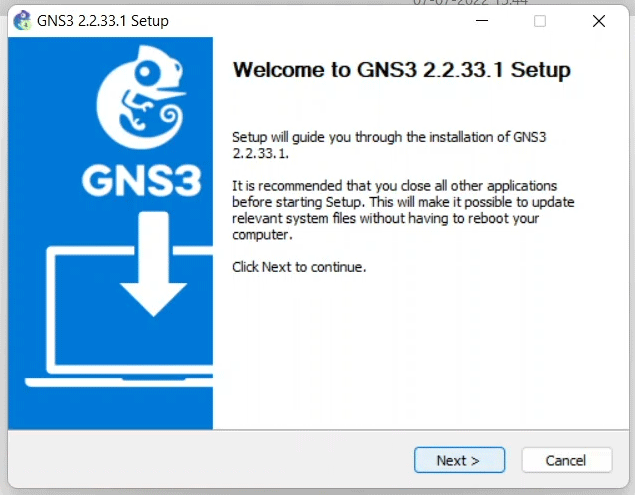
Double-click the GNS3 client installation file. Depending on UAC (User Access Control) settings, Windows may prompt you for confirmation. If it prompts, click Yes to confirm the installation. Upon confirmation, the installation process starts in a Wizard. The first screen of the Wizard displays a welcome message and a suggestion to close other applications before installing GNS3. It is only a suggestion, not a requirement. You can install GNS3 while other applications are running, but in that case, you must restart the system before you can use it. Click Next to start the installation.
The next screen shows the license agreement. Click the "I Agree" option to accept the license agreement.

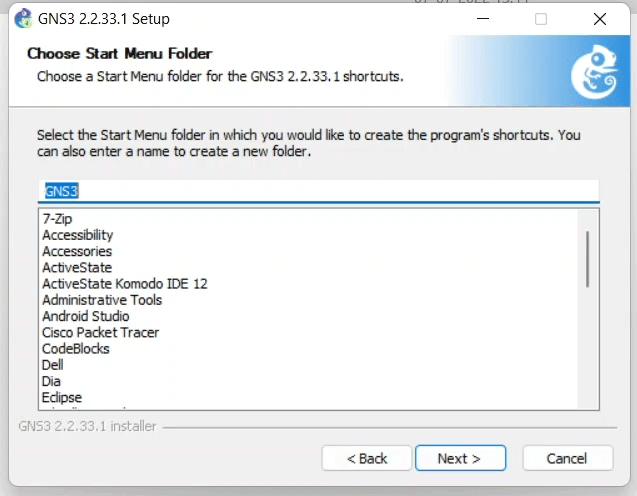
The next screen allows you to customize the Start menu folder name. By default, it uses GNS3. Either keep the default or pick a name and click Next.
The GNS3 installation package contains several additional tools and components. The following table provides a brief description of these.
| Component | Type | Description |
| WinPCAP | Required | Connect GNS3 to the host computer's network. It allows nodes emulated/simulated in GNS3 to communicate with nodes outside GNS3. |
| Npcap | Optional | Replacement of WinPCAP. Based on the Windows version, select either Npcap or WinPCAP. If you are installing GNS3 on Windows 10 or higher, select Npcap. On a previous version, choose WinPCAP. |
| Wireshark | Recommended | Capture and show data packets exchanged between nodes. |
| Dynamips | Required | Run GNS3 from the host system. |
| QEMU 3.1.0 and 0.11.0 | Optional | Create a virtual computer and run GNS3 on it. To run GNS3 from a virtual computer, use GNS3VM instead of this component. |
| VPCS | Recommended | Create a lightweight virtual PC that supports basic testing and troubleshooting commands such as ping and traceroute. |
| cpulimit | Optional | Add-on to the QEMU component. It limits QEMU from using all CPU cycles on the host computer. |
| GNS3 | Required | The core component of GNS3. It installs and runs GNS3 on the computer. |
| TightVNC | Recommended | VNC client tool. It connects to appliance graphical user interfaces. |
| Solar-Putty | Recommended | The default console application of GNS3. |
| Virt-viewer | Optional | An add-on component of QEMU. It provides an alternative display for the QEMU desktop. |
| HAXM | Optional | Used for hardware acceleration. It is available only if the host system uses an Intel CPU. |
Depending on how you will install the GNS3 server, select the components and tools here.
To install the GNS3 server on the local system without a virtual machine, select the following components and tools.
GNS3, Dynamips, Cpulimit,
Npcap (if you have Windows 10 or higher)
or
WinPCAP (if you have an earlier version of Windows), SolarPutty
To install the GNS3 server inside a virtual machine on the local system, select the following components and tools.
GNS3, Npcap, Wireshark, Dynamipc, VPCS, Cpulimit, TightVNC Viewer, SolarPutty

The next screen allows you to customize the installation folder location. By default, it creates a folder named GNS3 in the Program Files folder of the Windows partition and uses it for the installation. To install it in another folder, update the folder location. Keep the default location, or select the appropriate folder and click Install to begin the installation.

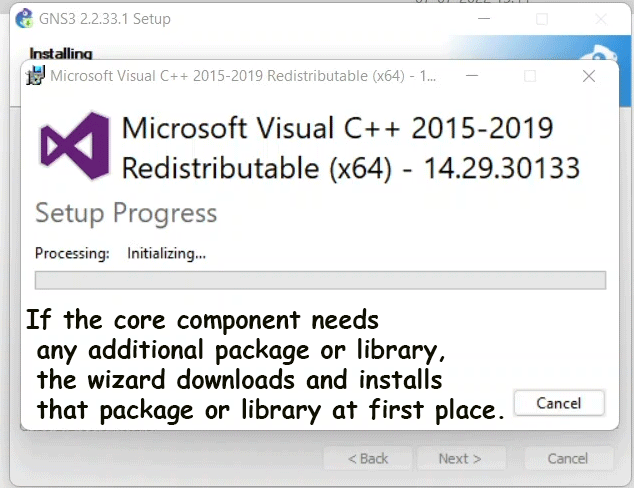
The installation process checks the dependencies for the selected components. If any additional packages or libraries are needed, it downloads and installs them.
After installing the core GNS3, the installer installs the additional components you selected.

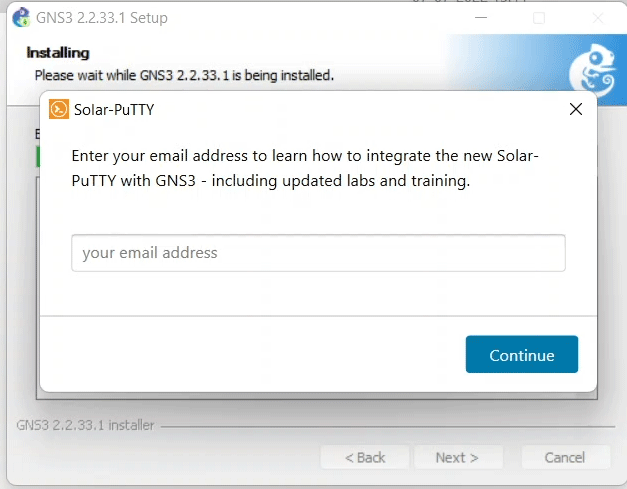
WinPCAP, Npcap, Wireshark, TightVNC, and SolarPutty are third-party tools. If you have selected third-party tools, the installation wizard will download and install them. A third-party tool may ask you to accept its license agreement or provide additional information. For example, you need to accept the Npcap license agreement and provide your email address to SolarPutty (if you want to receive promotional content).
The following image shows the installation of Npcap.

The following image shows the SolarPutty email requirement pop-up.
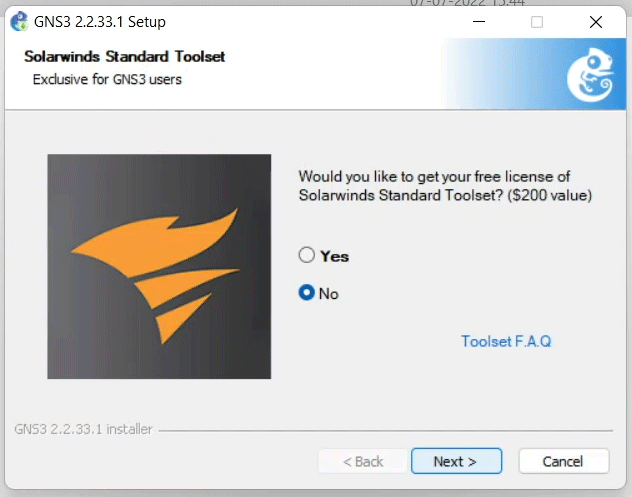
After installing all selected components, the Wizard shows a promotional offer from SolarWinds. SolarWinds makes software for network testing and troubleshooting. It also supports the GNS3 project. It offers a free standard toolset to GNS3 users. This toolset includes a range of network testing and troubleshooting tools.
You do not need this toolkit to practice CCNA/CCNP exam topics. SolarWinds provides this toolkit only to registered users. To install this toolkit, you must create a free account at SolarWinds' website. If you want to install this toolset, select Yes. Otherwise, select No, and click Next.
The last screen of the Wizard offers an option to start GNS3 immediately after the installation. If you do not want to run GNS3 just after the installation, uncheck this option. Click the Finish button to close the installation wizard.

If GNS3 starts and presents a Setup wizard, it verifies that you have successfully installed GNS3. This Wizard allows you to configure the GNS3 server.

This tutorial is part of the tutorial "Installing, Configuring, and Managing Packet Tracer and GNS3". Other parts of this tutorial are as follows:
Chapter 01 How to install and activate Packet Tracer in Windows
Chapter 02 How to install and start Packet Tracer in Ubuntu
Chapter 03 Difference between emulation and simulation
Chapter 04 Differences between Packet Tracer, GNS3, and Cisco VIRL
Chapter 05 What are GNS3-all-in-one and GNS3
Chapter 06 GNS3 Setup Wizard Options Explained
Chapter 07 How to Install GNS3 Explained
Chapter 08 GNS3 Terminology and Overview
Chapter 09 How to Import IOS in GNS3
Conclusion
This tutorial explained how to perform a custom, error-free installation of GNS3 on a Windows system. By default, GNS3 installs many other tools with its default installation. Understanding these steps helps you select only the necessary components and tools.
Author Laxmi Goswami Updated on 2025-10-30