How install and configure the PostgreSQL server on RHEL Linux
The PostgreSQL server is an open-source database server. Data integrity, fault tolerance, extensibility, and support for a large number of concurrent users are core features of it. It is based on the SQL language. It allows you to extend your database with your own data types and custom functions. You can also add code from different programming languages without re-compiling your database. This tutorial explains how to install, configure, and verify it on RHEL 10.
Prerequisites:-
The root or superuser account (Compulsory)
Managing software packages requires root privileges. All commands explained in this tutorial require root privileges.
The Internet connection (Optional)
You need a consistent internet connection to download the default or the latest PostgreSQL server from official online repositories. To use a local or network repository for installation, you do not need it.
The PostgreSQL server installation options
You have two options for installing the PostgreSQL server: default and latest.
PostgreSQL is part of the default installation packages. When releasing a new version of RHEL, Red Hat includes the latest PostgreSQL version and supports it throughout its lifetime. You can select it during the RHEL installation under Software selection, or install it from the installation disk after installation.
PostgreSQL is an open-source project. It has its own update cycles. These update cycles differ from those of RHEL. Usually, PostgreSQL releases updates much earlier than RHEL. Because of this, the PostgreSQL version shipped on the RHEL installation disk may not be the latest version when you actually install it. If the shipped version is not the latest and you need the latest, you can download it from the official repository and install it.
Whether you choose the default shipped version or download the latest version, you can install and use only one version. You cannot run multiple PostgreSQL instances on the same host. If your setup requires multiple PostgreSQL instances, you can use containers. A container provides an isolated environment to run a service. A service running in a container has no effect on the host system. You can use containers to run different services or multiple instances of the same service. Whether you install PostgreSQL in a container or directly on the host system, it works similarly and requires the same configuration steps.
Installing the default PostgreSQL server
The dnf tool lets you manage software packages. You can use it to query, list, install, update, and remove packages. It requires repositories. A repository stores software packages. Red Hat offers several online repositories for its customers. However, downloading software packages from these repositories requires an active Red Hat subscription. Red Hat subscription is not free. You need to pay for it. If you are using RHEL for learning or testing, you can create a local repository from the RHEL installation disk to install packages. The following tutorial explains how to create a local repository from the installation disk.
DNF Command on Linux Examples and Usages
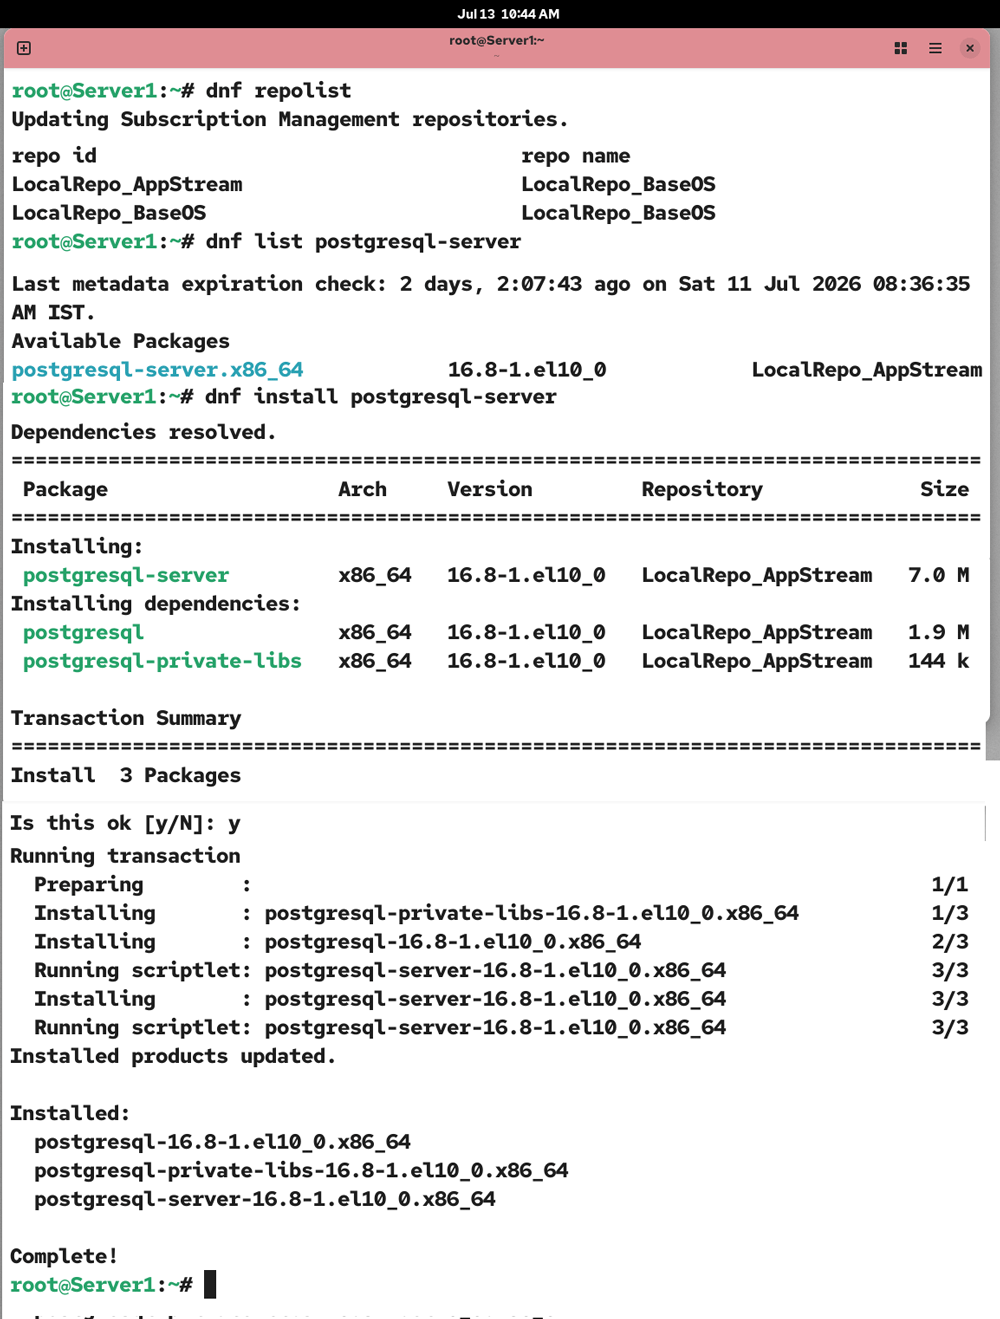
If you have an active Red Hat subscription or a local repository, run the following commands to download and install the default version of the PostgreSQL server.
#dnf repolist
#dnf update -y
#dnf list postgresql-server
#dnf install postgresql-server
The first command displays all configured repositories. To download and install packages, at least one repository must be configured.
The second command updates the repository database. It allows you to download the latest version of software packages from official Red Hat repositories. If you are using only a local repository, you do not need to run this command, as packages in this repository remain unchanged.
The third command finds the PostgreSQL server installation packages in all configured repositories and lists them.
The fourth command installs the PostgreSQL server. This command installs PostgreSQL 16, which is the default on RHEL 10.
On RHEL 10.2, the default is PostgreSQL 18. If your RHEL is 10.2 or higher, run the following command to install PostgreSQL 18.
#dnf install postgresql18-server
Removing the PostgreSQL server
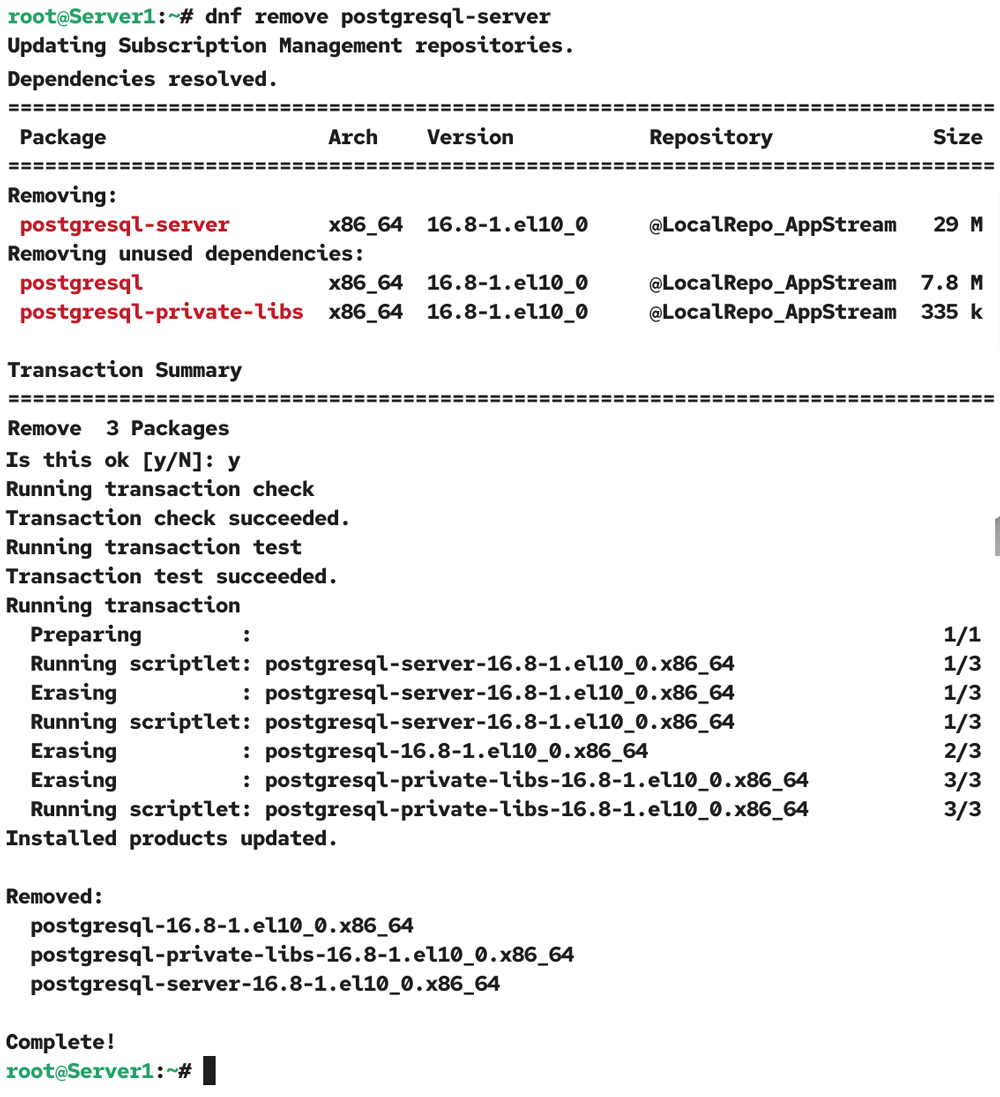
As explained earlier, you cannot install two different versions of the PostgreSQL server on the same system unless you install them in different containers. To install another version of the PostgreSQL server, you need to remove the existing version. The following command removes the PostgreSQL server package and its dependencies.
#dnf remove postgresql-server
Use this command with caution on a production system. It will remove the PostgreSQL server and all of its components from the system.
Installing a specific version of the PostgreSQL server
Rather than installing the pre-shipped PostgreSQL server, if you want to install a specific version, follow the steps below.
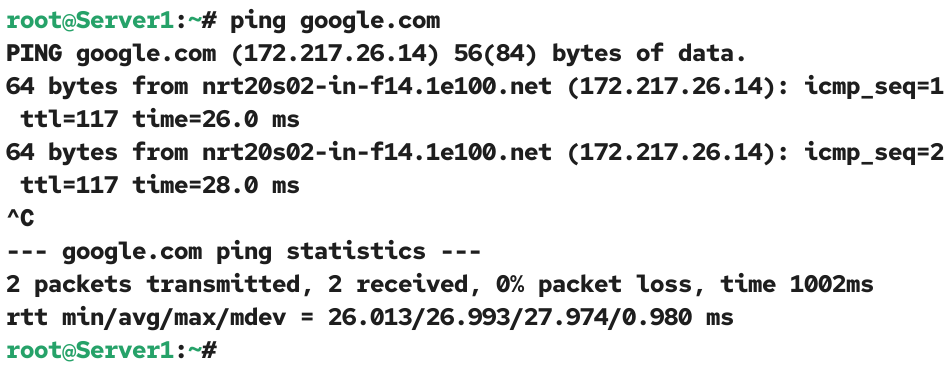
Check that the system has Internet access. Send ping requests to any website to verify that the system has internet access.
#ping google.com
Reply messages confirm that the system has internet access.
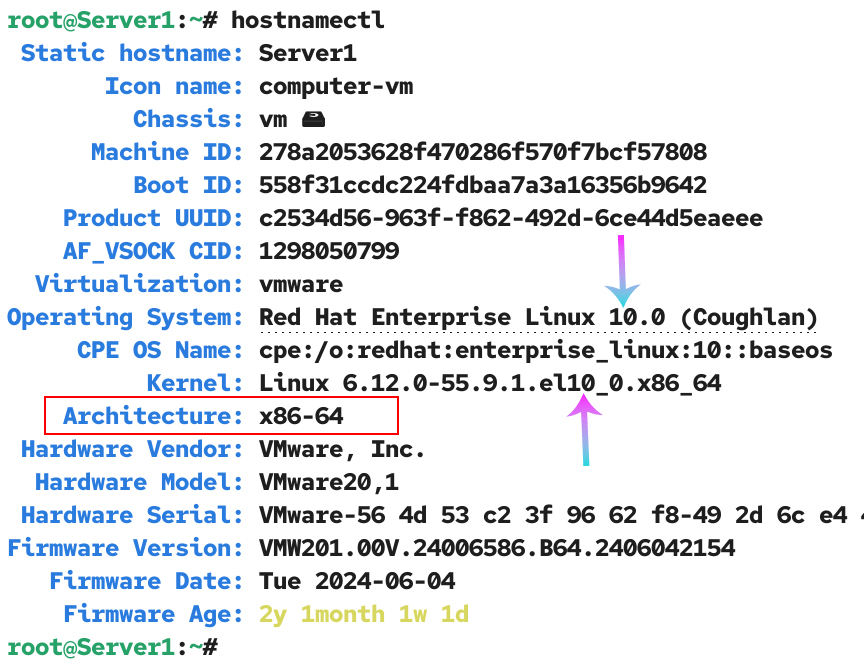
The PostgreSQL project maintains dedicated repositories for different Linux distributions and their versions. Run the hostnamectl command and note the RHEL version and hardware architecture.
#hostnamectl
Use the following command syntax to add and configure the PostgreSQL Yum repository on RHEL.
#dnf install -y https://download.postgresql.org/pub/repos/yum/reporpms/EL-[RHEL Version]-[hardware architecture]/pgdg-redhat-repo-latest.noarch.rpm
Replace the RHEL version and hardware architecture with the RHEL version number and architecture type shown in the output of the hostnamectl command.
For example, if the RHEL version is 10 and the architecture type is x86_64, use the following command.
#dnf install -y https://download.postgresql.org/pub/repos/yum/reporpms/EL-10-x86_64/pgdg-redhat-repo-latest.noarch.rpm
Similarly, if the architecture type is aarch64 and the RHEL version is 10, use the following command.
#dnf install -y https://download.postgresql.org/pub/repos/yum/reporpms/EL-10-aarch64/pgdg-redhat-repo-latest.noarch.rpm
Use the following command if the architecture type is ppc64le and the RHEL version is 10.
#dnf install -y https://download.postgresql.org/pub/repos/yum/reporpms/EL-10-ppc64le/pgdg-redhat-repo-latest.noarch.rpm
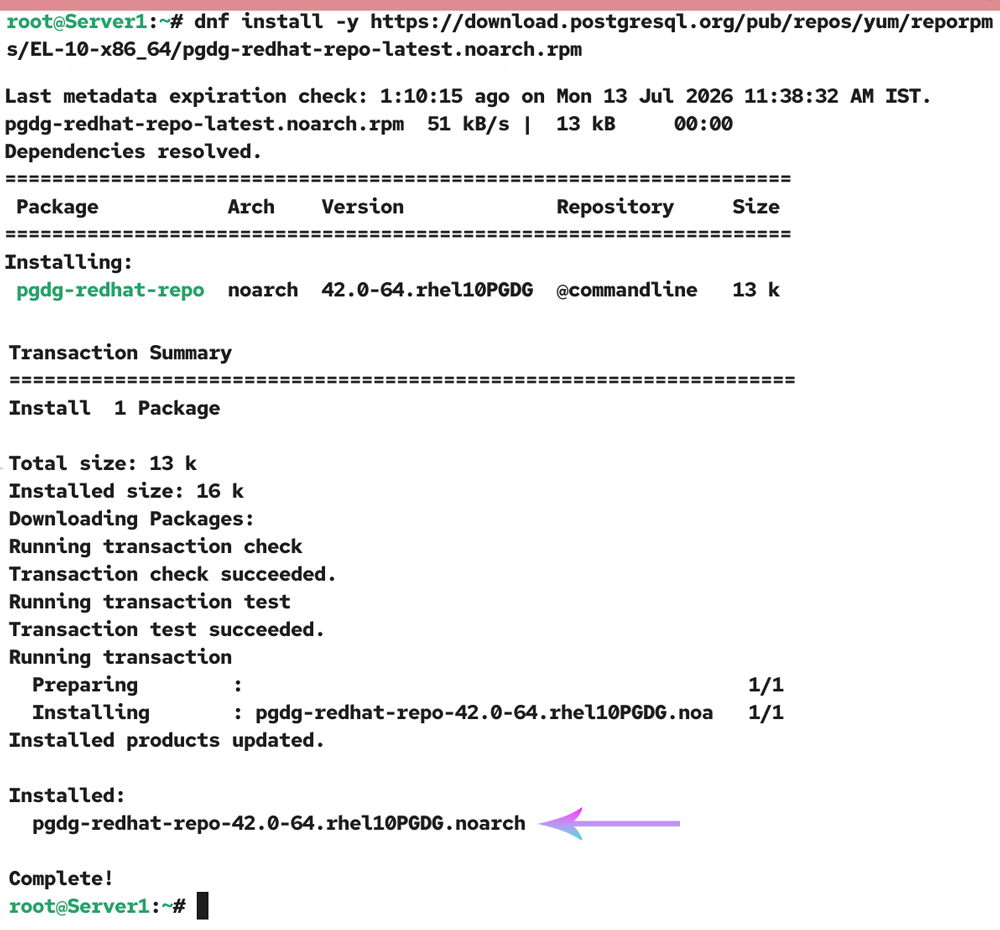
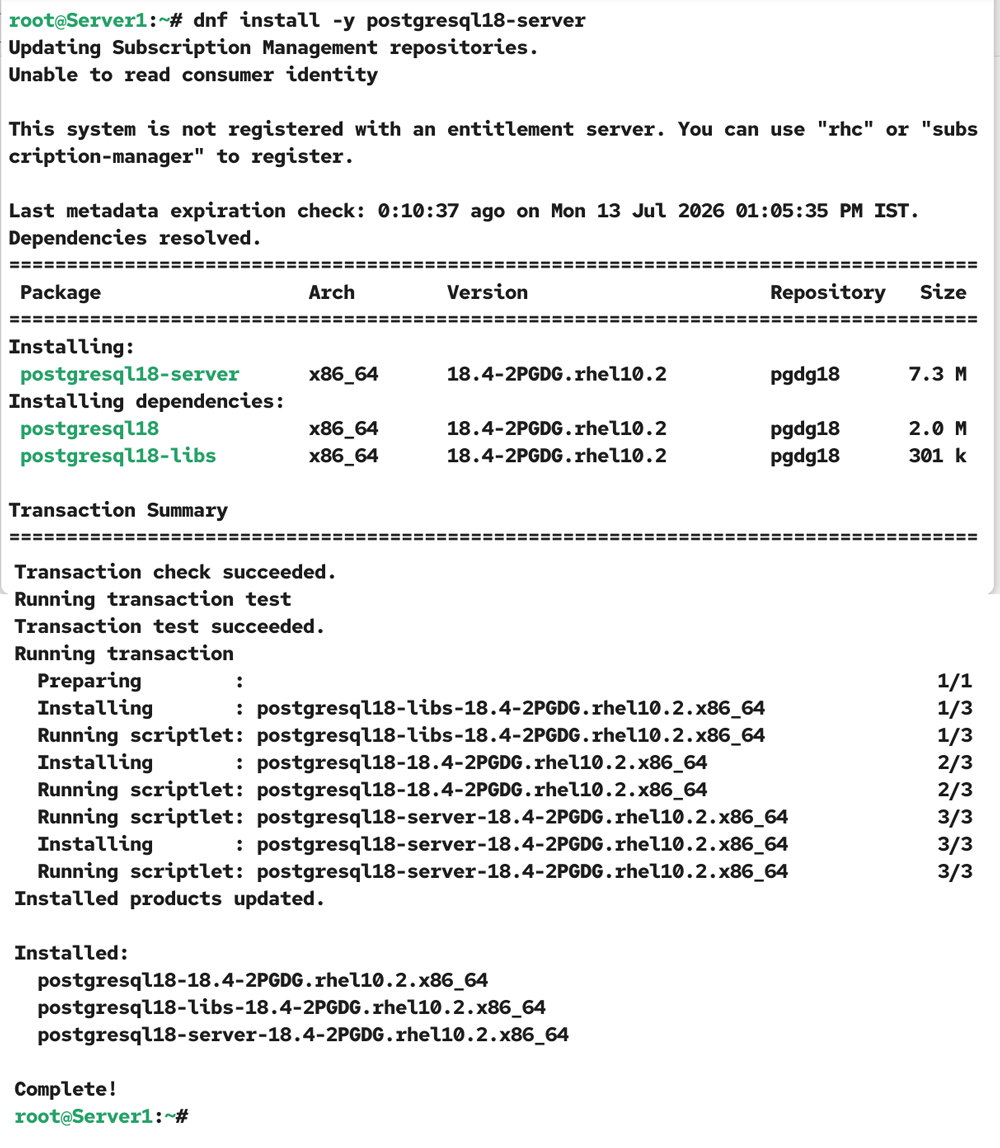
After adding the repository link, run the following command to install the PostgreSQL server.
#dnf install -y postgresql[PostgreSQL version number]-server
Replace the PostgreSQL version number with the version number you want to install. For example, to install version 18, run the following command.
#dnf install -y postgresql18-server
Use the following command for version 17.
#dnf install -y postgresql17-server
Initializing database
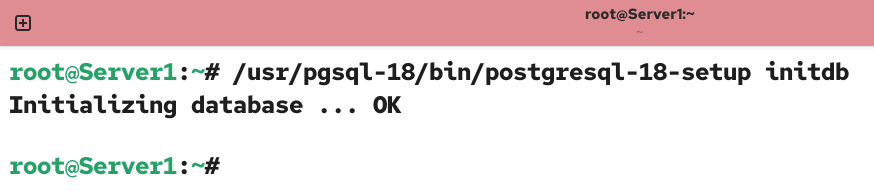
After installing PostgreSQL, use the following command syntax to initialize the database.
#/usr/pgsql-[PostgreSQL Server version]/bin/postgresql-[PostgreSQL Server version]-setup initdb
For example, to initialize the PostgreSQL 18 database, use the following command.
#/usr/pgsql-18/bin/postgresql-18-setup initdb
This command creates the necessary configuration files and sets up a directory tree for the PostgreSQL server service.
Managing the PostgreSQL server service
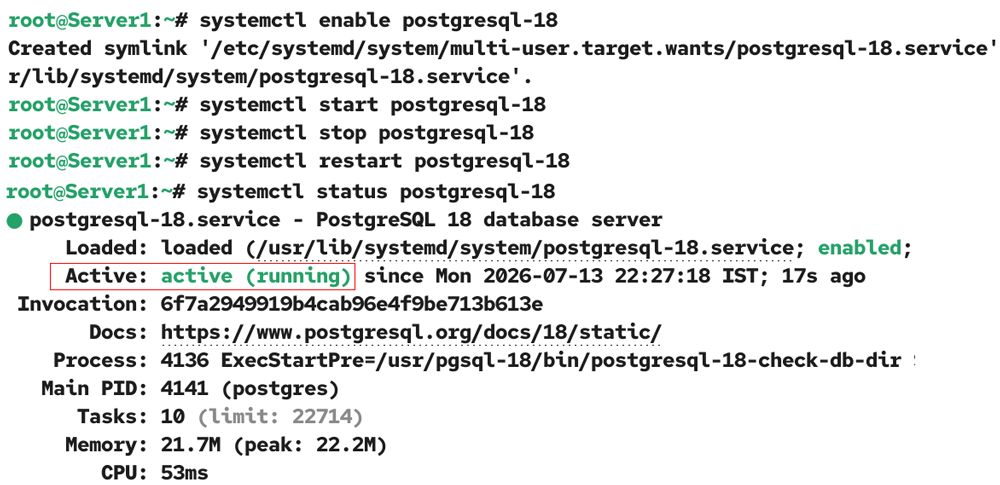
The following command enables and starts it at boot time.
#systemctl enable postgresql-18
The following command starts it in the running session.
#systemctl start postgresql-18
The following command stops it in the running session.
#systemctl stop postgresql-18
The following command restarts it in the running session.
#systemctl restart postgresql-18
The following command displays its current status.
#systemctl status postgresql-18
Replace the PostgreSQL version if you are using a different version. For example, if you have PostgreSQL 17, use the following commands.
#systemctl enable postgresql-17
#systemctl start postgresql-17
#systemctl stop postgresql-17
#systemctl restart postgresql-17
#systemctl status postgresql-17
Installing the PostgreSQL client
The PostgreSQL client program allows you to create and manage databases. When you install the PostgreSQL server package, it automatically gets installed with that package. If it is not installed, use the following command to install it.
#dnf install postgresql18
Replace the PostgreSQL version to install a different version. For example, to install PostgreSQL 17, use the following command.
#dnf install postgresql17
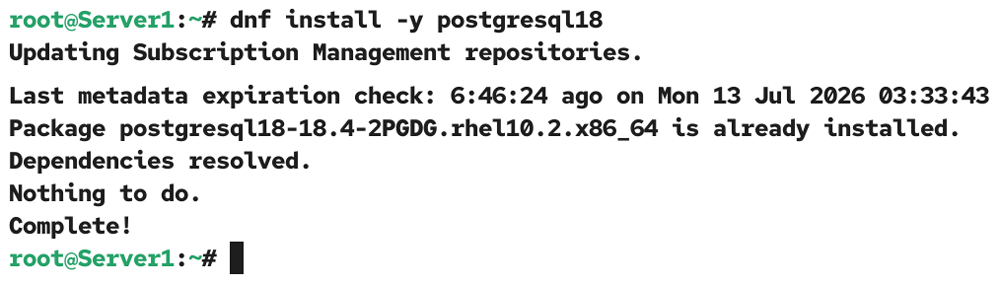
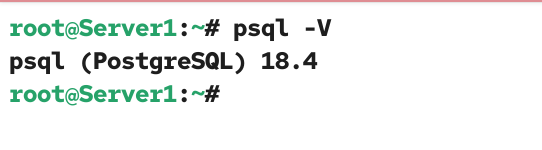
Displaying the PostgreSQL server version information
To know the PostgreSQL server version number, use the following command.
#psql -V
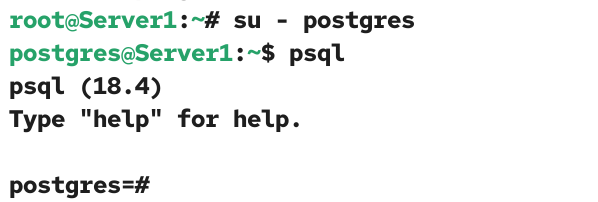
Creating PostgreSQL users
The PostgreSQL installation creates a user account: postgres. You can use this account to run and manage PostgreSQL. You can use this account to create PostgreSQL users with specific permissions to manage database access and control user privileges for secure database administration.
Use the following command to switch to this user account.
#su - postgres
Use the following command to start the PostgreSQL interactive command prompt.
$psql
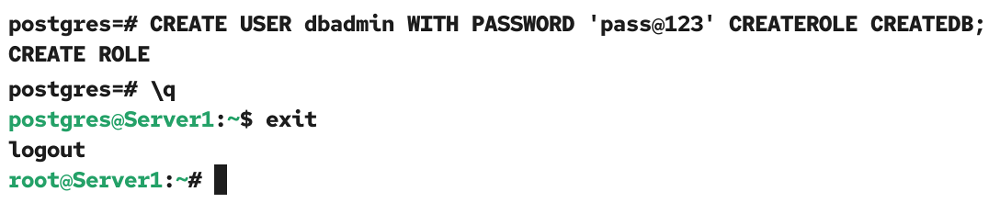
Use the following command to create a PostgreSQL user account. This user can create databases and manage user indexes.
#postgres=# CREATE USER [Username] WITH PASSWORD '[password]' CREATEROLE CREATEDB;
Replace the username and password with your username and password. Enclose the password with quotes.
#postgres=# CREATE USER dbadmin WITH PASSWORD 'pass@123' CREATEROLE CREATEDB;
Close the PostgreSQL interactive terminal.
postgres=# \q
Exit the postgres user account.
$exit
#
Creating a new database
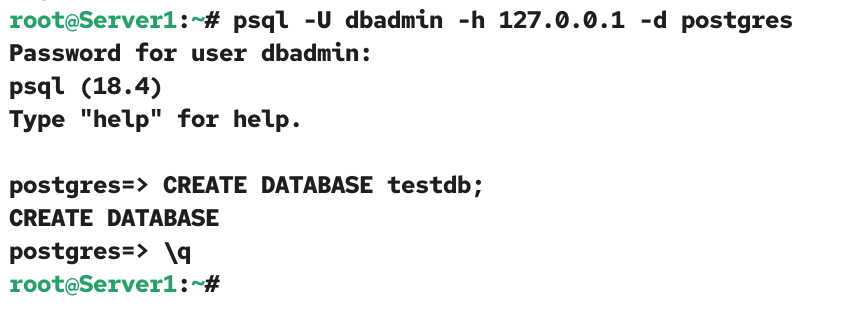
To create a new PostgreSQL database, access the PostgreSQL interactive terminal. If you have added a PostgreSQL user, use that instead of the default PostgreSQL user account. Authenticate with the password you set for the user account.
#psql -U dbadmin -h 127.0.0.1 -d postgres
| Option | Description |
| -U | Specify the username. Use the user account you have added in the previous step. |
| -h | Specify the IP address of the PostgreSQL server. 127.0.0.1 refers to the local host. |
| -d | Specify the database. When you initialize PostgreSQL for the first time, it creates a default database, postgres. You can connect to it. |
Use the following command to create a new database.
postgres=> CREATE DATABASE [database name];
The following command creates the testdb database.
postgres=> CREATE DATABASE testdb
postgres=> \q
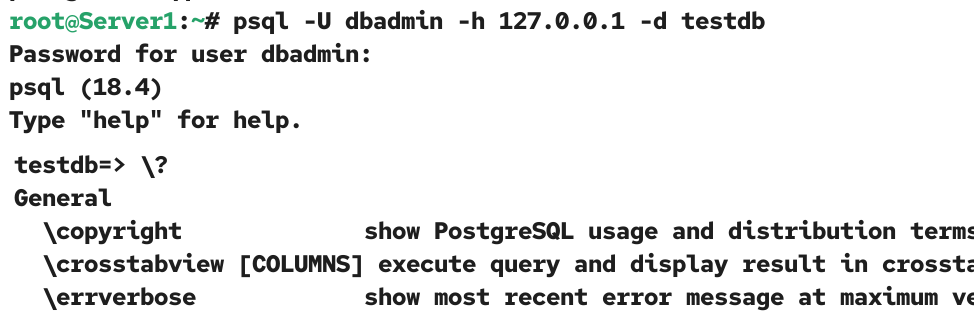
Connect with the new database.
#psql -U dbadmin -h 127.0.0.1 -d testdb
Once connected, you can create and manage tables in the specified database. To view all available commands at the PostgreSQL prompt, use the following command.
postgres=> \?
The official site
The official site for the PostgreSQL project is https://www.postgresql.org/. It provides the PostgreSQL server for all supported platforms. For Red Hat, the webpage is https://www.postgresql.org/download/linux/redhat/. It provides links for PostgreSQL Yum repositories. You need to select your Linux platform (distribution, such as RHEL, Rocky, or Oracle), architecture (such as aarch64, ppc64le, or x86_64), and the PostgreSQL server version (18, 17, 16, 15, 14). It generates a link for your selected platform and version and displays it in the Setup script section with the commands you need to add it. It also displays the command to install and configure it.
Conclusion
PostgreSQL is a database server. In this tutorial, I explained how to install, configure, and verify it on RHEL Linux. By following these steps, you can use the PostgreSQL database server on your network more effectively.
Author Laxmi Goswami Updated on 2026-07-14