Screen recording and taking screenshots in RHEL
Taking screenshots and recording the screen are essential tasks. Often, you need to take a screenshot or record the screen for various purposes, such as troubleshooting, creating proof of an action (such as a payment or bill pay), and making tutorials. RHEL Linux provides a default utility for recording the screen and taking screenshots. This tutorial explains how to start and use it.
Prerequisites:-
A RHEL system with the GNOME desktop environment
Screen recording
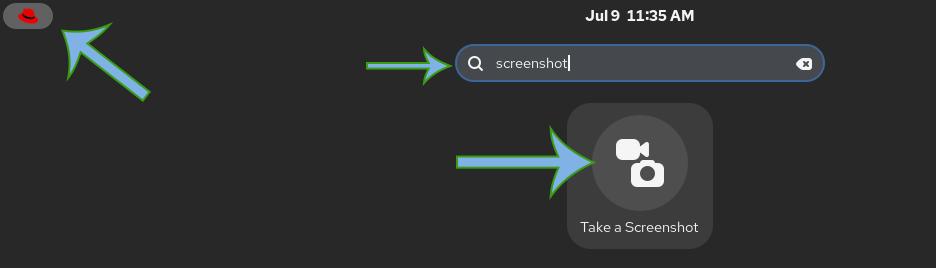
The Take a Screenshot application lets you capture the screen. You can use it for screen recording and taking screenshots. You do not need to install it separately. It is part of the GNOME desktop environment. To start it, click the Red Hat logo (Dash/ Start button) in the top-left corner. It opens the Activities overview screen. The Activities overview screen contains a search box at the top. Type 'Take a Screenshot' in this box and press Enter. The screen will display its icon. Click its icon to start it.
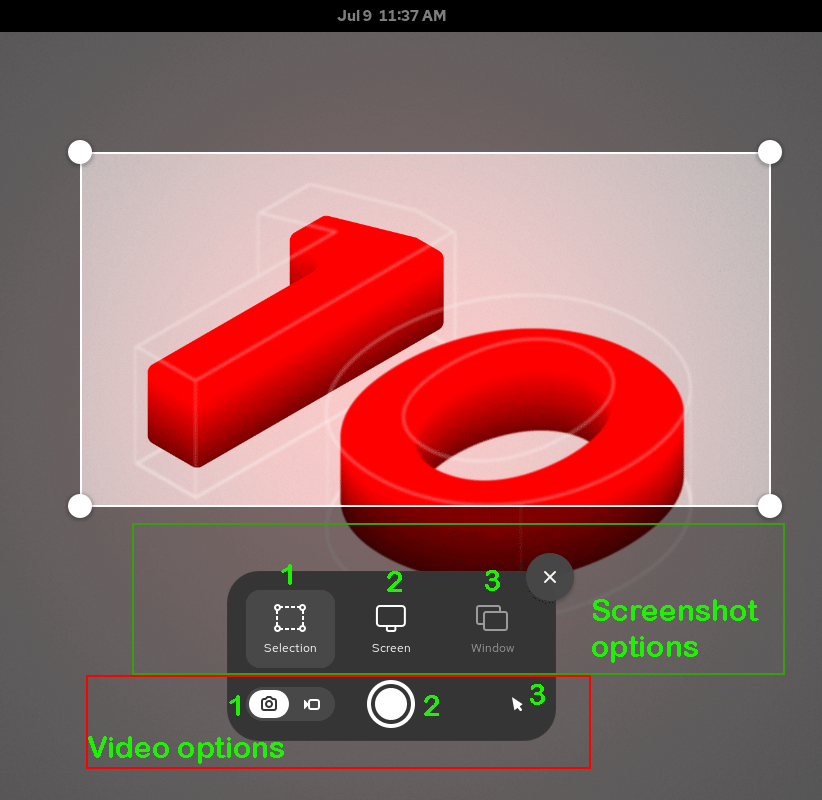
The 'Take a Screenshot' application contains six options, divided into two parts: upper and lower. The upper part includes options for taking screenshots. The lower part includes options for video recording.
The upper part contains three options. The first option lets you define the area for the screenshot. You can use this option to take a screenshot of a specific area. The second option allows you to take a screenshot of the entire screen. You can use it to capture the entire desktop. The third option allows you to take a screenshot of the windows of the open application.
The lower part also includes three options. The first option enables video recording. The second option is a button. Click it to take a screenshot or start recording a video. The third option controls the mouse pointer. You can use this option to instruct it to capture the mouse cursor.
When recording the screen, an indicator appears in the top-right corner of the title bar. It allows you to pause and stop the recording.

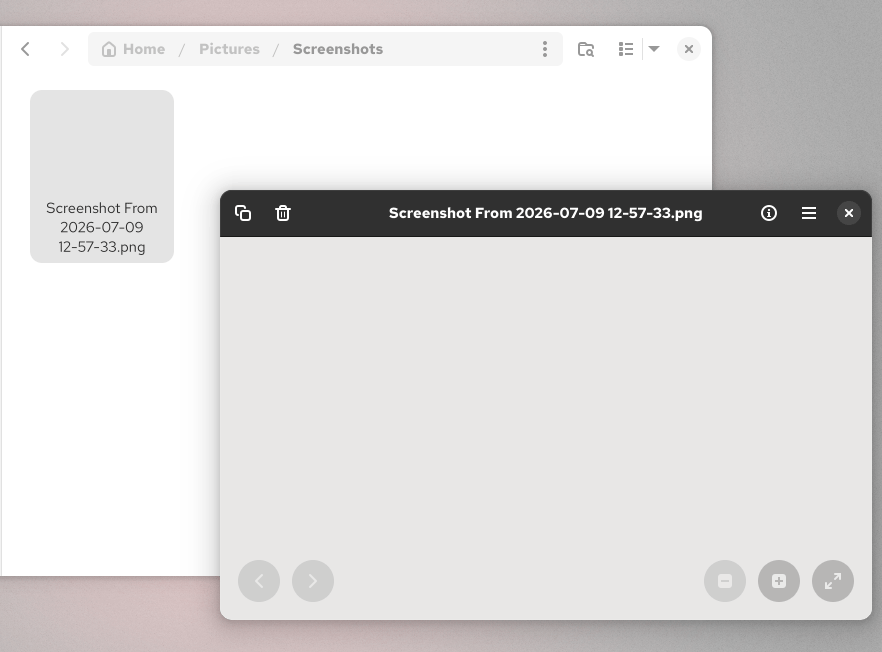
Screenshots are saved in the ~/Home/Picture/Screenshots dierctory.
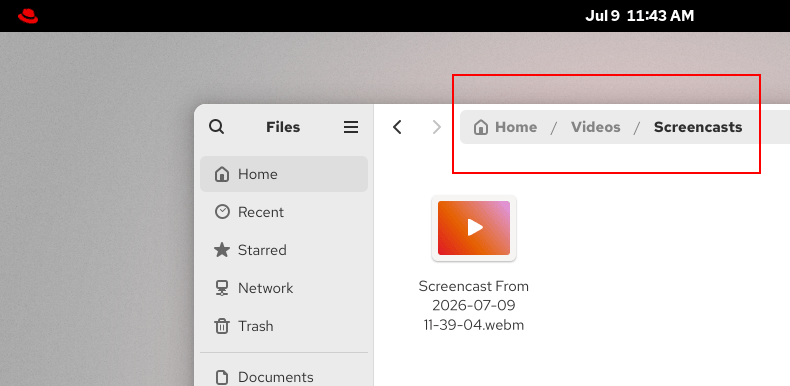
The recorded videos are saved in the ~/Home/Videos/Screencasts directory. The file name includes the date and time of the recording. The file format is .webm.
Conclusion
Taking screenshots and recording the screen are essential for various purposes. RHEL Linux offers an inbuilt tool for it. In this tutorial, I explained how to start and use this tool to take a screenshot and record the screen.
Author Laxmi Goswami Updated on 2026-07-09