How to install and configure the MariaDB server on RHEL Linux
The MariaDB server is an open-source relational database management system. It is based on MySQL. It supports multiple storage engines and provides an SQL interface for accessing data. This tutorial explains how to install, configure, and verify it on RHEL 10.
Prerequisites:-
The root or superuser account (Compulsory)
Managing software packages requires root privileges. All commands explained in this tutorial require root privileges.
The Internet connection (Optional)
You need a stable internet connection to download the MariaDB server package from official Red Hat repositories. To use a local or network repository for installation, you do not need it.
Installing the default MariaDB server
The dnf tool lets you manage software packages. You can use it to query, list, install, update, and remove packages. It requires repositories. A repository stores software packages. Red Hat offers several web-based repositories for its customers. However, downloading software packages from these repositories requires an active Red Hat subscription. Red Hat subscription is not free. You need to pay for it. If you are using RHEL for learning or testing, you can create a local repository from the RHEL installation disk to install packages. The following tutorial explains how to create a local repository from the installation disk.
DNF Command on Linux Examples and Usages
If you have an active Red Hat subscription or a local repository, run the following commands to download and install the MariaDB server.
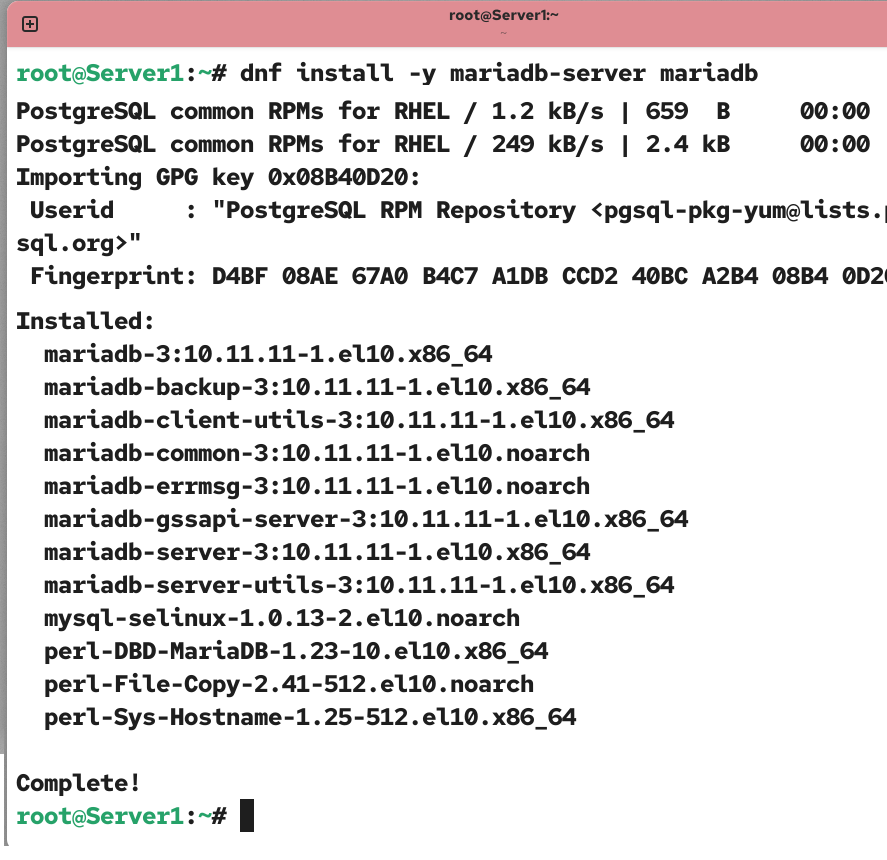
#dnf install -y mariadb-server mariadb
This command installs the MariaDB server and client, along with their dependencies. The mariadb-server package provides the MariaDB server service. The mariadb package provides the MariaDB client service. This package is optional on the server system if you only want to run the MariaDB server service. However, installing this package allows you to test and verify the server configuration. On the client system, this package is compulsory. It lets you connect with the MariaDB server.
Managing the MariaDB server service
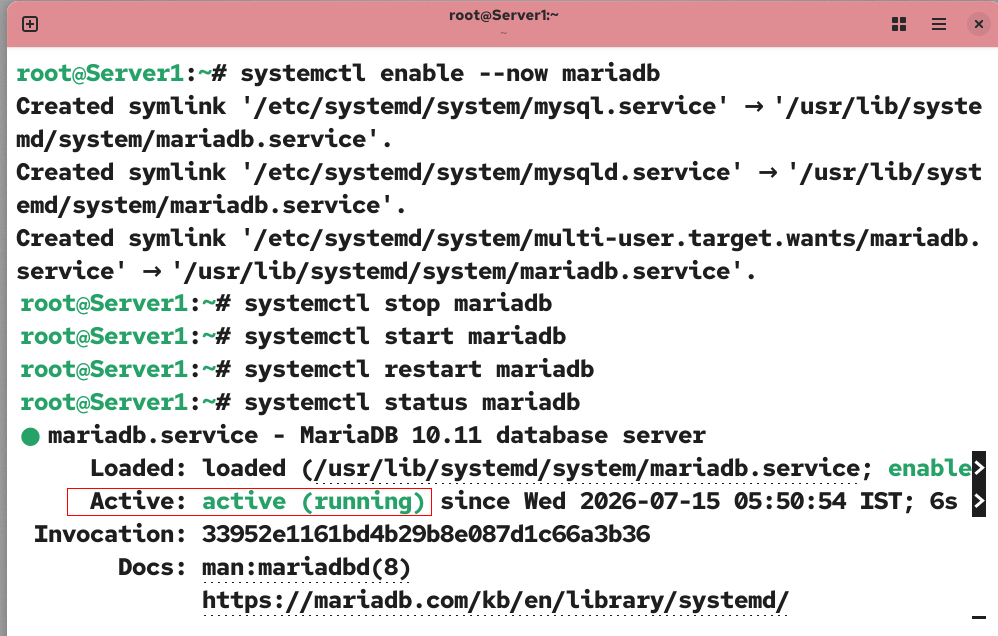
The following command enables and starts it at boot time.
#systemctl enable mariadb
The following command starts it in the running session.
#systemctl start mariadb
The following command stops it in the running session.
#systemctl stop mariadb
The following command restarts it in the running session.
#systemctl restart mariadb
The following command displays its current status.
#systemctl status mariadb
The MariaDB server service must be active and running on the server system for the next steps.
Securing the default MariaDB server configuration
The default MariaDB server configuration is optimized to help you debug issues you may encounter when setting up the MariaDB server. This default configuration may create security risks in a production environment. To mitigate these risks, you must disable the relevant settings before going live or using the MariaDB server in a production environment. The mariadb-server package includes the following command that helps you secure your configuration and make it production-ready. You must run this command before using the MariaDB server in a production environment.
#mariadb-secure-installation
When you run this command for the first time, it prompts you to enter the root user password. This root user is different from the standard root user available on Linux systems. It belongs to the MariaDB server service and lets you manage it. The default password for this root user is none. Press Enter to authenticate the setup process.
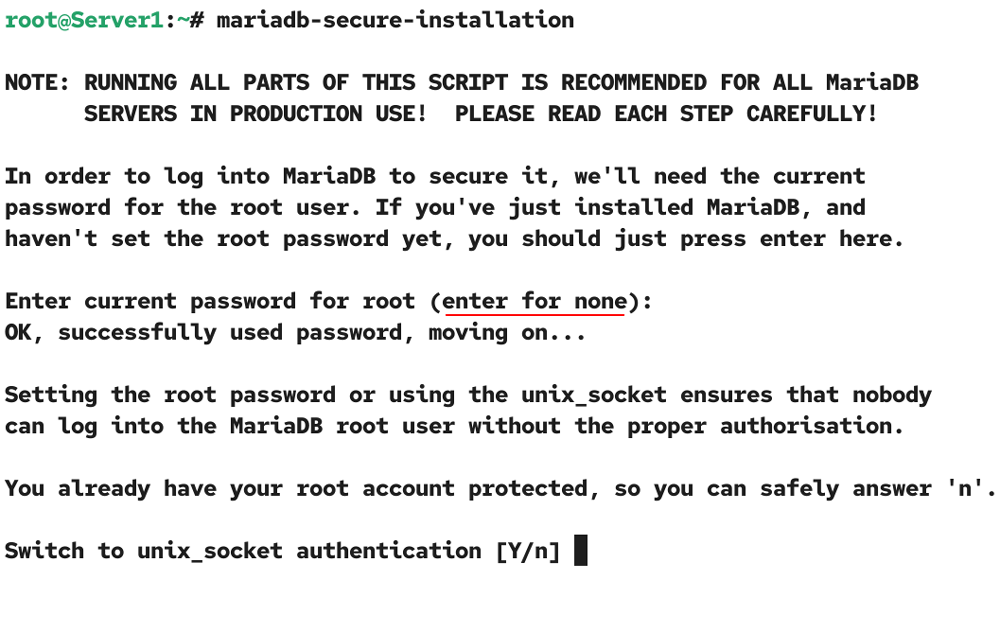
The first setting you can configure is unix_socket authentication. If you enable it, the MariaDB server authenticates local database users based on their host operating system credentials. For example, if you are logged as the system root user and connect to MariaDB server, the server automatically grants you root access to the database. Type n and press Enter to disable this feature.
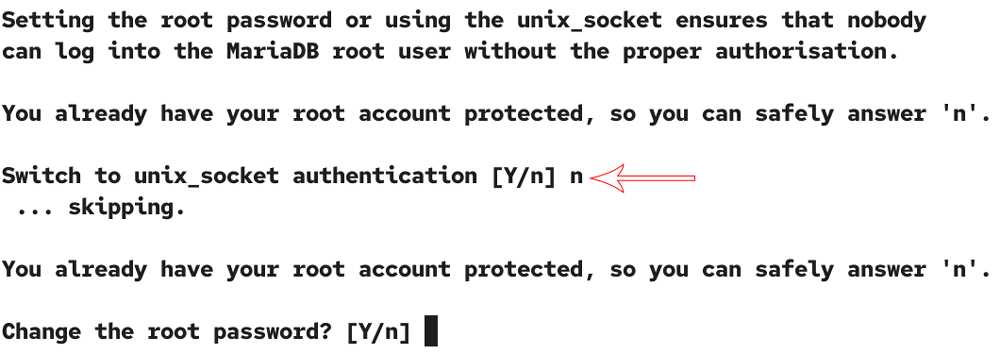
The second setting lets you change the root user password. If you are running this command for the first time, you can use it to set a password for the root user. Type Y and set a new complex password. If you run this command again, you'll need to enter this password to authenticate.
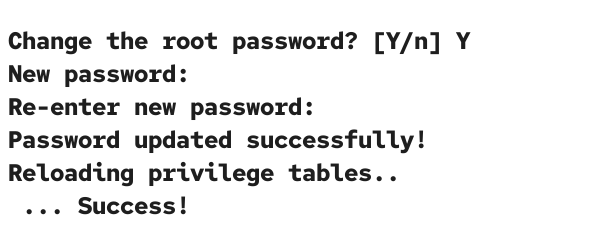
The third setting allows you to disable the default anonymous user. An anonymous user allows you to connect to the MariaDB server without specifying a password. You can use this account to test and debug the MariaDB server. In a production account, this account is generally not required. Type Y and press Enter to disable this account.
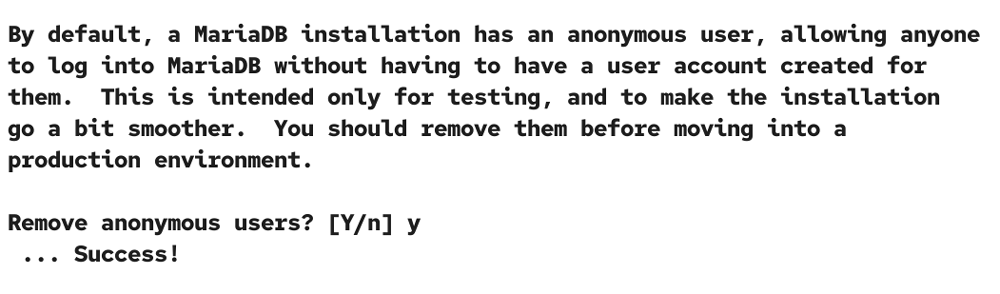
The fourth setting lets you enable or disable remote login for the root user. The default is enabled. The root user has the highest privilege. Unless you want to manage the MariaDB server from a remote system, you should disable this feature. To disable it, type Y and press Enter. To keep it enabled, type N and press Enter.
The fifth setting allows you to delete the test database created during MariaDB installation. This test database lets you validate your configuration before going live. To delete it, type Y and press Enter.
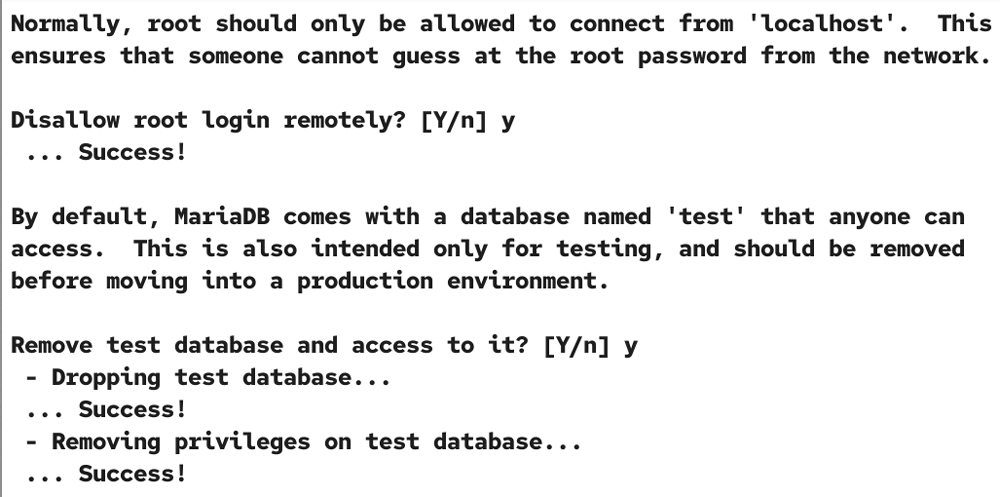
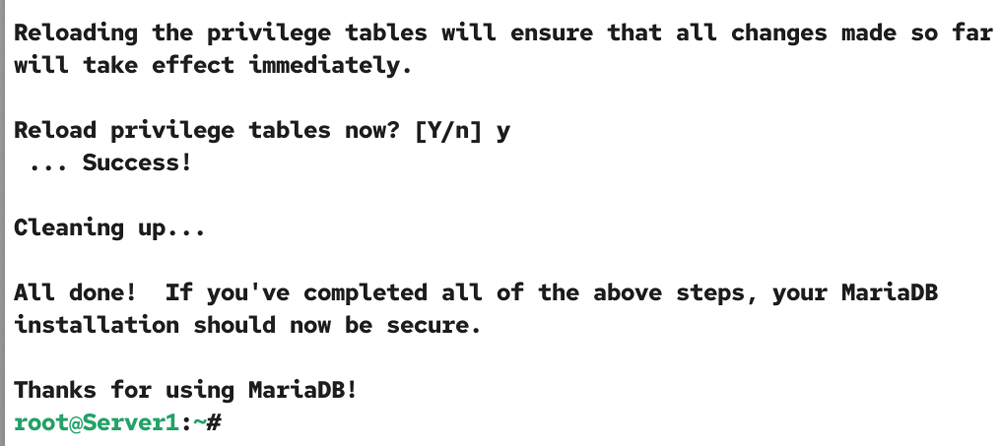
The last setting allows you to reload privilege tables. Type Y and press Enter to apply the changes immediately.
Enabling Remote Access
The default configuration accepts connections only from localhost. To allow remote users to connect to the MariaDB server, follow the steps below.
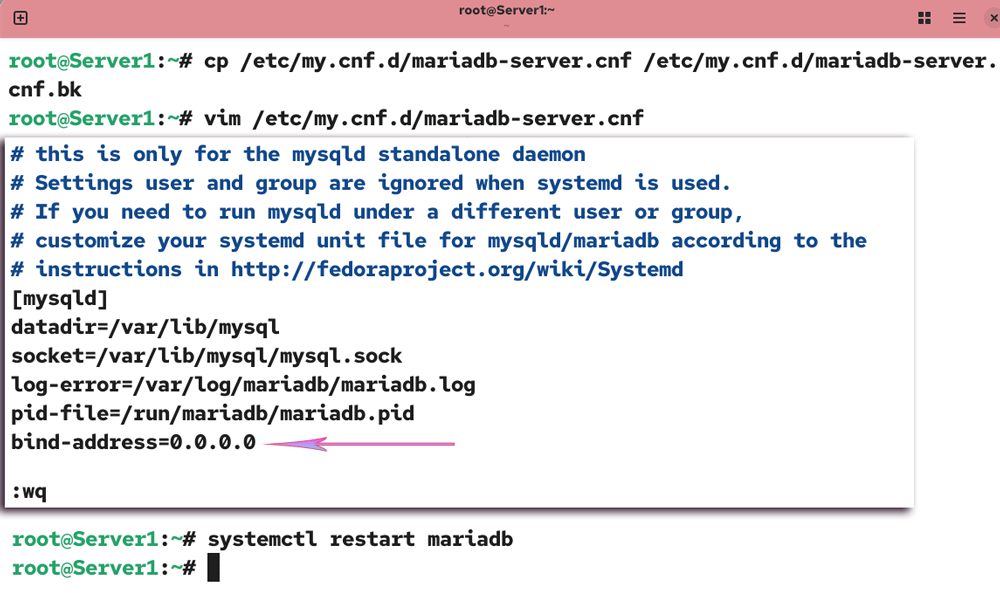
- Back up the /etc/my.cnf.d/mariadb-server.cnf file and open it for editing. This file controls the server-side configuration.
- Add the bind-address=0.0.0.0 directive in the [mysqld] section.
- Save and exit the file.
- Restart the MariaDB server service to apply the change.
#cp /etc/my.cnf.d/mariadb-server.cnf  /etc/my.cnf.d/mariadb-server.cnf.bk
#vim /etc/my.cnf.d/mariadb-server.cnf

[mysqld]

bind-address=0.0.0.0

:wq

#systemctl restart mariadb
Key directives in the [mysqld] section
The default configuration does not include the bind-address directive in the [mysqld] section. You need to manually create and configure it. You can specify three values to it: a hostname, an IPv4 address, and an IPv6 address. To use the hostname, the DNS service must be functional. Instead of a hostname, you can specify an IP address. The 0.0.0.0 is an IPv4 network address. It belongs to all IPv4 addresses. If you use this, it binds the MariaDB server service to all interfaces. If you want it to listen only on a specific interface, specify the IP address configured on that interface. For example, suppose you have interfaces: int10 and int20. The IP address on the first interface is 192.168.0.1. On the second interface, it is 172.168.0.1. If you want MariaDB to listen only on int10, specify the IP address 192.168.0.1. To listen on both, use the IP address 0.0.0.0. To disable it on both interfaces and allow connection only from the localhost system, do not add this directive.
To configure MariaDB to listen on a non-default port, you can add the port directive in this section. If you use a custom port, you need to allow it through the firewall as well.
To restrict MariaDB to the host system, add the skip-networking directive and set its value to 1.
Allowing the MariaDB service through the firewall
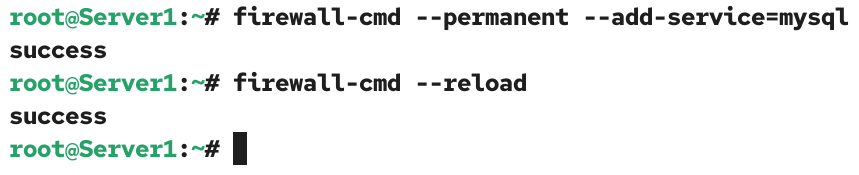
The default firewall configuration prevents incoming connections to the MariaDB service. Use the following command to configure the firewall to allow incoming connections for the MariaDB service.
#firewall-cmd --permanent --add-service=mysql
#firewall-cmd --reload
Viewing the MariaDB server version
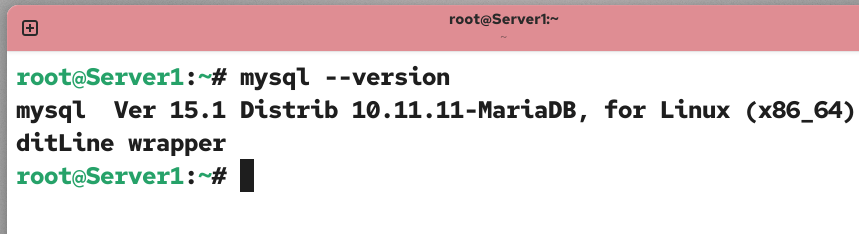
To view the installed MariaDB server version, use the following command.
#mysql --version
Creating a MariaDB database and user accounts
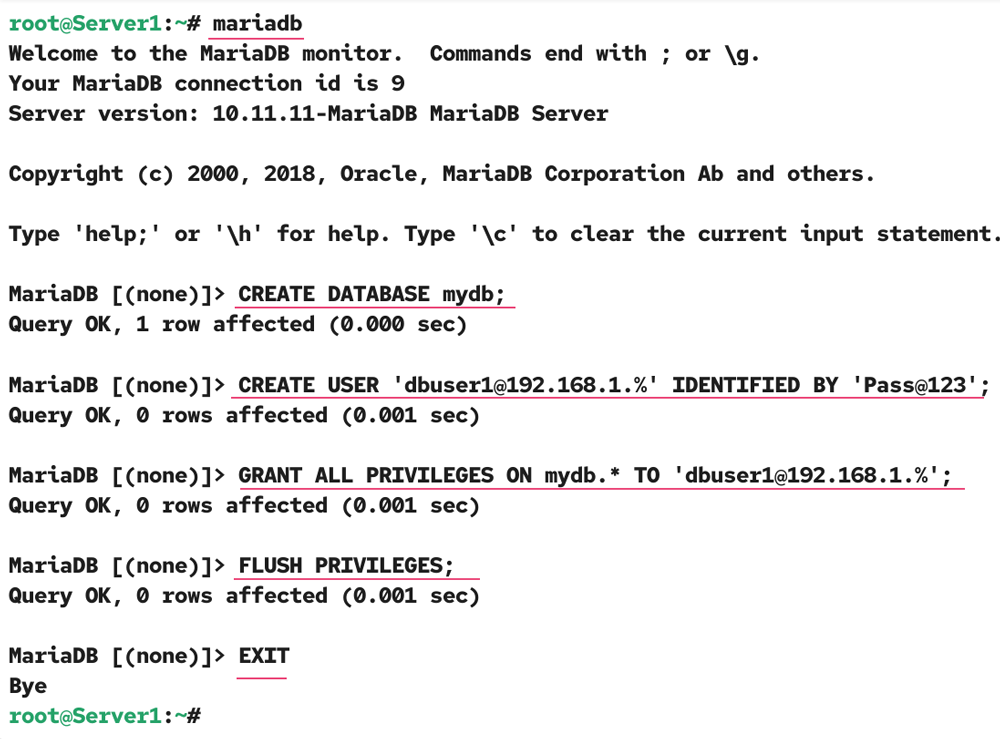
To create a MariaDB database, use the following commands.
#mariadb
MariaDB [(none)]> CREATE DATABASE mydb;
The first command accesses the MariaDB command prompt. The second command creates the mydb database. Replace mydb with the name of your database.
To create a remote user, use the following command.
MariaDB [(none)]> CREATE USER 'dbuser1'@'192.168.1.%' IDENTIFIED BY 'Pass@123';
Replace 'dbuser1' with your username. The user can connect to the MariaDB server from any system on the 192.168.1.0/24 subnet. The user password is Pass@123. Replace it with your password.
To grant all privileges to the added user, use the following command.
MariaDB [(none)]> GRANT ALL PRIVILEGES ON mydb.* to 'dbuser1'@'192.168.1.%' IDENTIFIED BY 'Pass@123' ;
Use the following command to flush the cache and apply the change immediately.
MariaDB [(none)]> FLUSH PRIVILEGES;
Use the following command to close the connection.
MariaDB [(none)]> EXIT;
Installing the MariaDB client
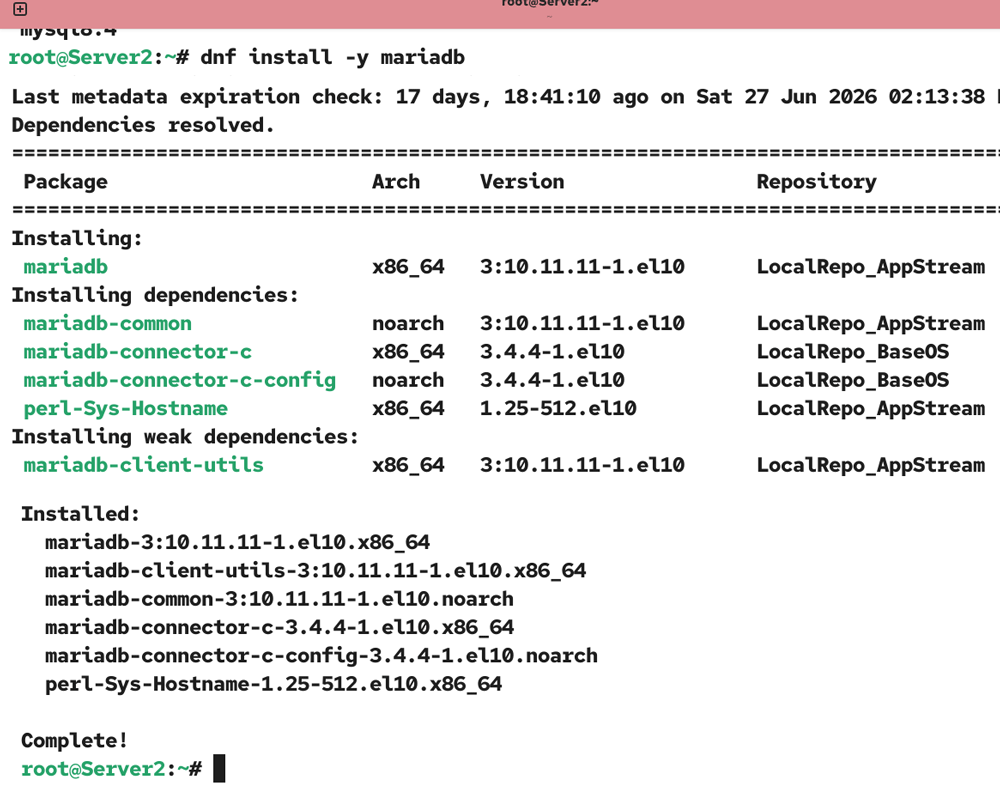
The MariaDB client program allows you to connect to the MariaDB server. You need to install it on the system that you want to use to access the MariaDB server.
#dnf install -y mariadb
Accessing the MariaDB server from the MariaDB client
Test connectivity with the MariaDB server.
#ping MariaDB server IP
Use the following command syntax to initiate a database connection.
#mysql -h [MariaDB server IP] -u [Username] -p [Database name]
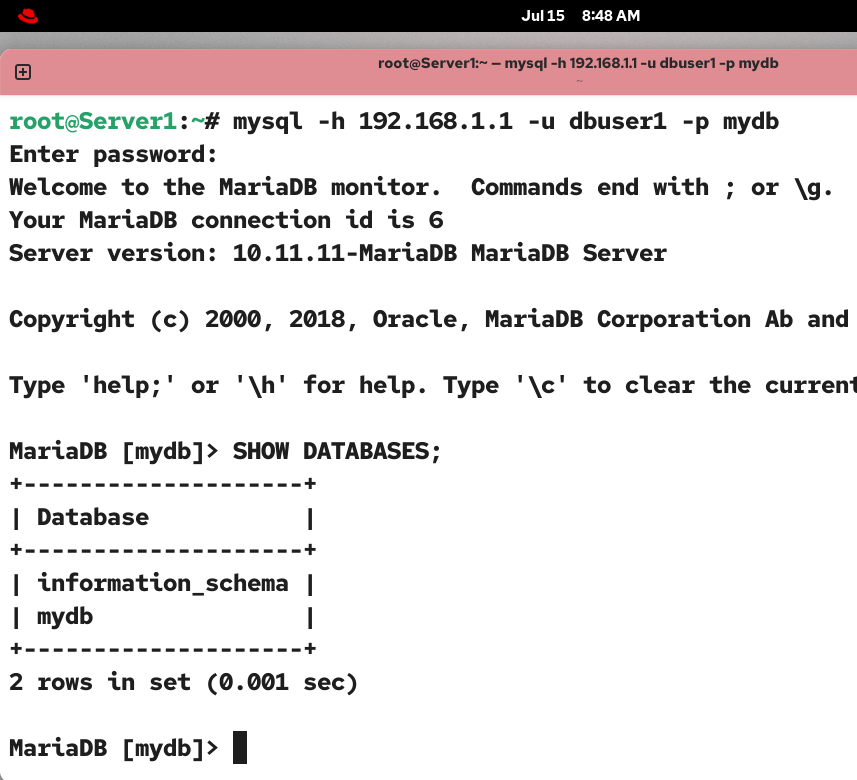
For example, the following command connects dbuser1 to the mydb database created on the MariaDB server at 192.168.1.1.
#mysql -h 192.168.1.1 -u dbuser1 -p mydb
Enter the password you set for the user dbuser1 on the MariaDB server to authenticate the connection.
Conclusion
MariaDB is a relational database management system. In this tutorial, I explained how to install, configure, and verify it on RHEL Linux. By following these steps, you can use the MaraiDB server in your network more effectively.
Author Laxmi Goswami Updated on 2026-07-15