How to install Ubuntu Desktop 26.04 LTS
Ubuntu Desktop 26.04 LTS is the latest long-term support version of the official Ubuntu Desktop flavor. In this tutorial, I will explain the options and instructions that appear on each screen during the installation process. Learning these steps ensures that you end up with a fully usable Ubuntu installation on any platform (such as PCs, Laptops, and virtual machines) without errors.
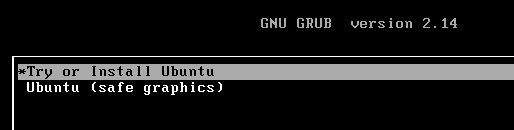
The first screen of the boot process displays the following two options.
Try or Install Ubuntu
Ubuntu (safe graphics)
The first option virtually installs Ubuntu in RAM and lets you test it from there. If everything looks fine, you can convert it into a full installation from there. This option lets you test Ubuntu on your system without writing anything to the disk. You can use this feature to check that your system is compatible with Ubuntu and fulfills the minimum installation requriements. You can also use this feature to know how the installation process will end.
The second option lets you run Ubuntu in safe mode. You can use this option to troubleshoot graphics-related issues.
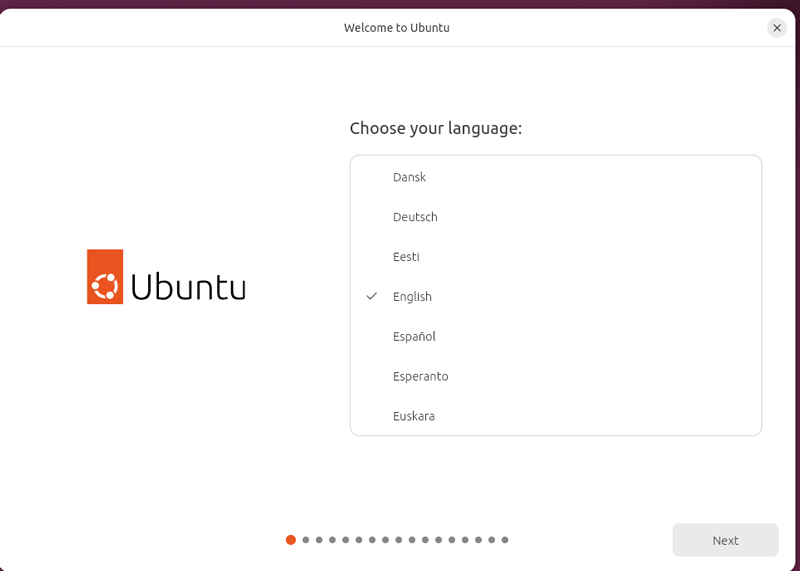
If you use the first option, the installation process starts automatically in a wizard. If you do want to install Ubuntu, you can close the wizard. To install Ubuntu, you can continue in the wizard. The first screen lets you select the language for your installation. The default is English.
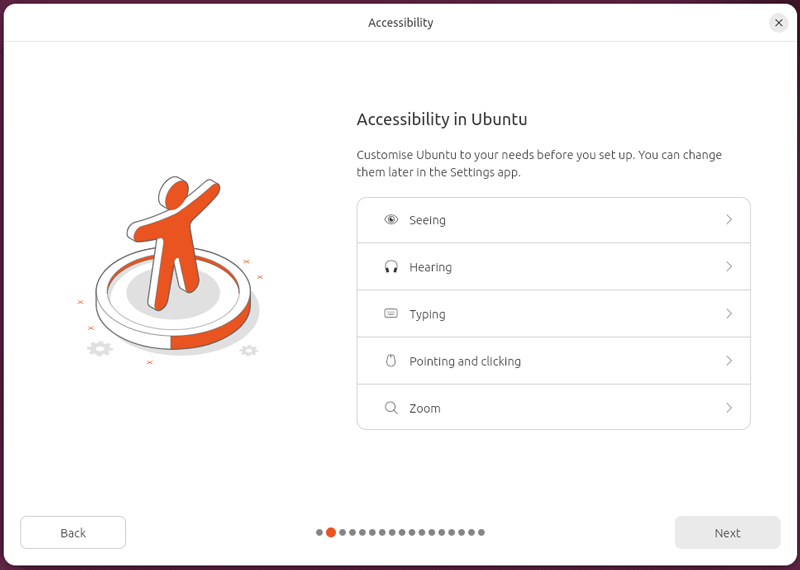
The next screen presents accessibility options. If you are installing Ubuntu for a person with a physical disability, you can customize the accessibility options on this screen.
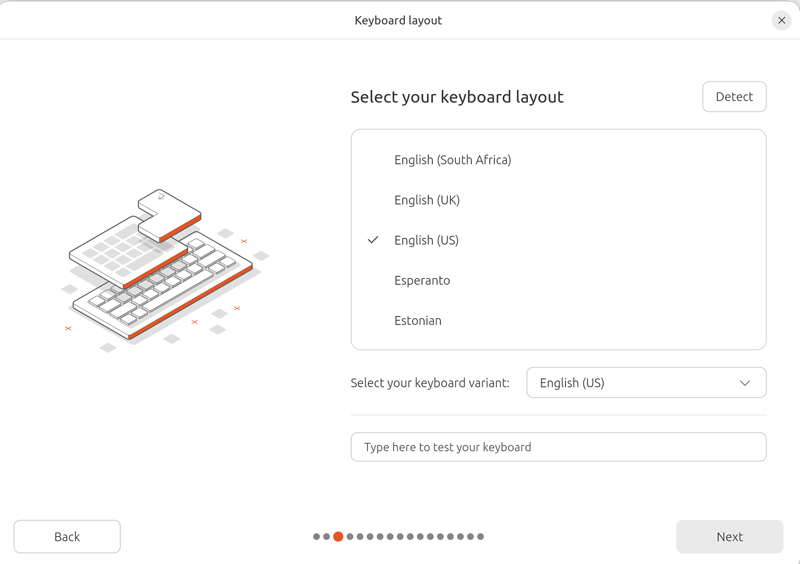
The next screen lets you select the keyboard layout. The default is US English.
The installation process checks for updates during the installation. If updates are available, they are downloaded and installed during installation. To prevent the installation process from downloading and installing updates, disable internet access on the next screen. To allow access, keep the default selection.
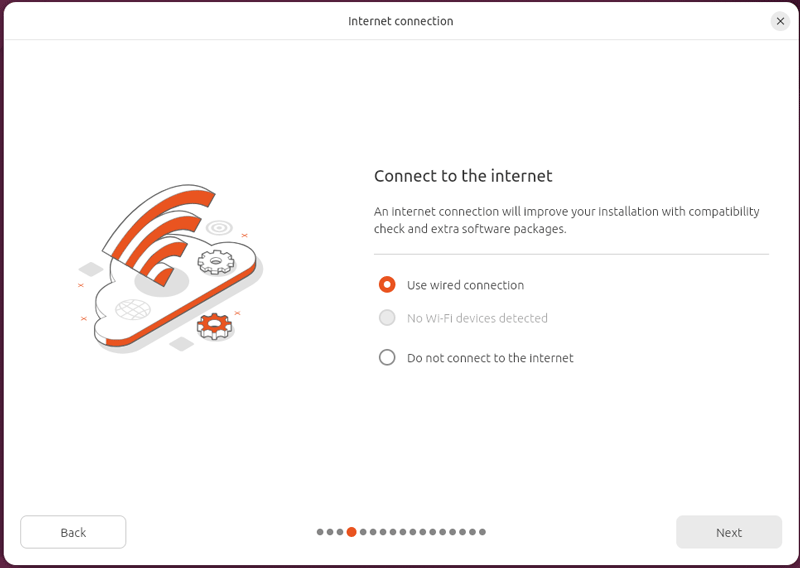
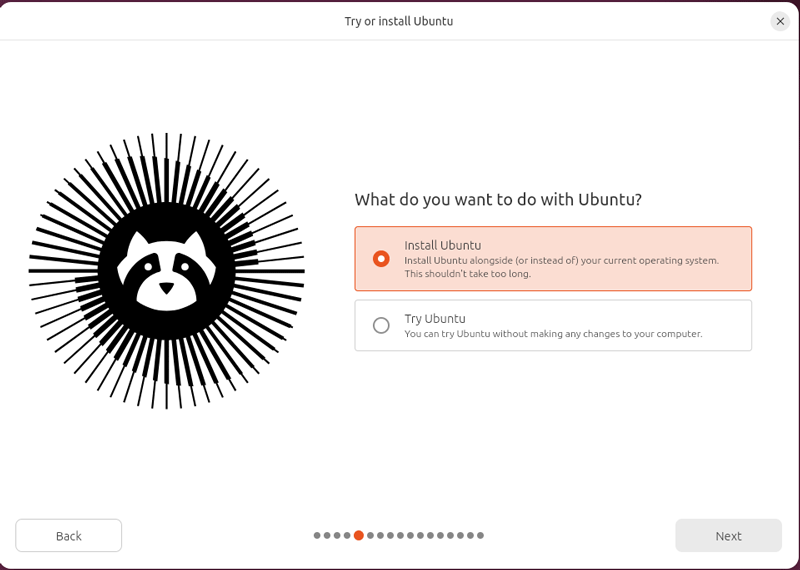
The next screen lets you choose how you want to use Ubuntu. Select the first option to start the installation. Use the second option to use it without installation.
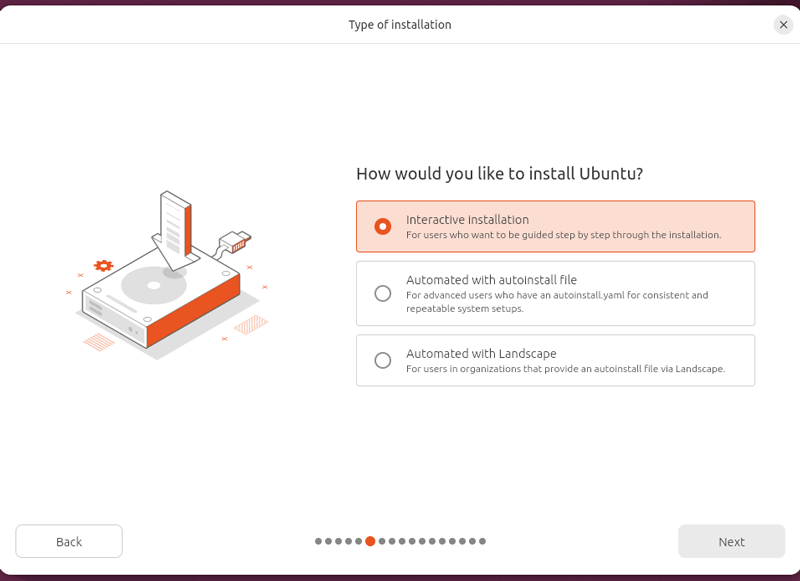
You can install Ubuntu in two ways: interactively and automatically. If you choose the first option, you must select the appropriate options on each screen during installation. The second option lets you automate this process. You create a file that contains the answer to each option that appears during the installation. Use the first option to perform a standard installation on a single computer. Use the second option to perform an automated installation on several computers.
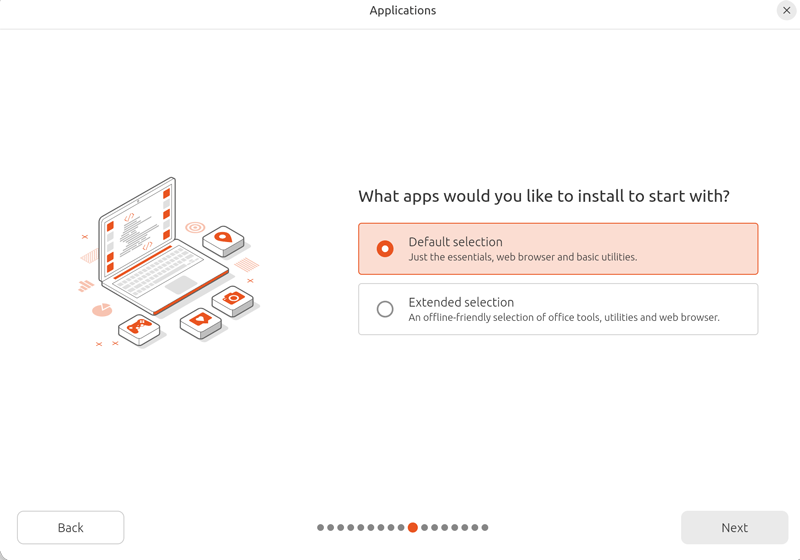
The next screen lets you select the applications you want to include in the default installation. Use the first option to include only essential applications. Use the second option to include general-purpose applications.
Due to licensing, Ubuntu does not include third-party applications and drivers. However, it can download them from their official repositories and install them during the installation for you. For this, you have to instruct the installation process on the next screen.
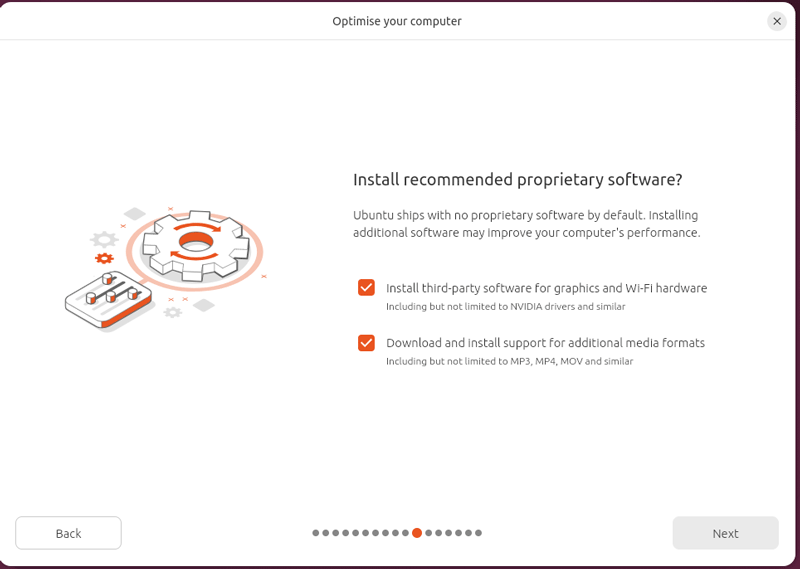
The next screen lets you choose the way you want to perform the installation. If you select the first option, Ubuntu handles everything for you. It automatically creates the necessary partitions on the selected disk and chooses the appropriate partition for the installation. If you choose the second option, you need to create disk partitions and manually select the appropriate one.
Use the first option if the hard disk does not contain an existing operating system and you want to use the entire disk for Ubuntu. Use the second option if the hard disk already contains an operating system, or if you want to keep free, unpartitioned disk space for another operating system.
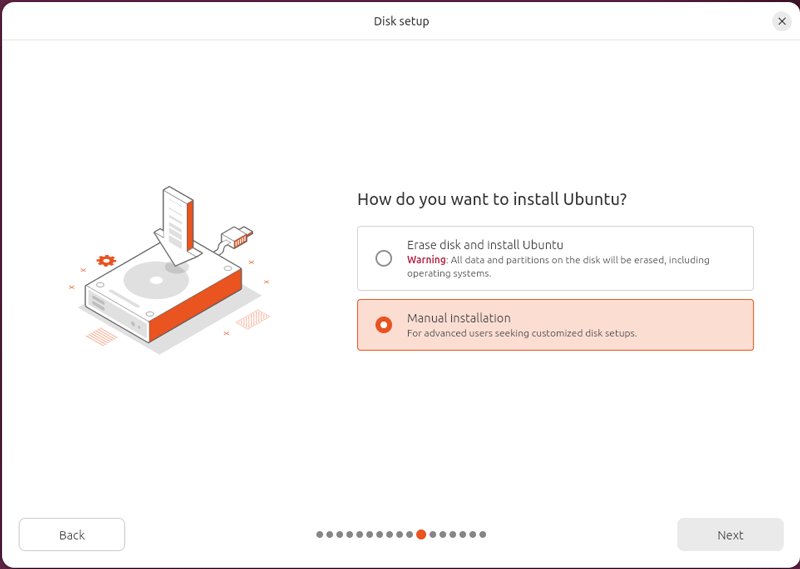
If you select the second option, the next screen lists all attached hard disks and available free space on each disk.
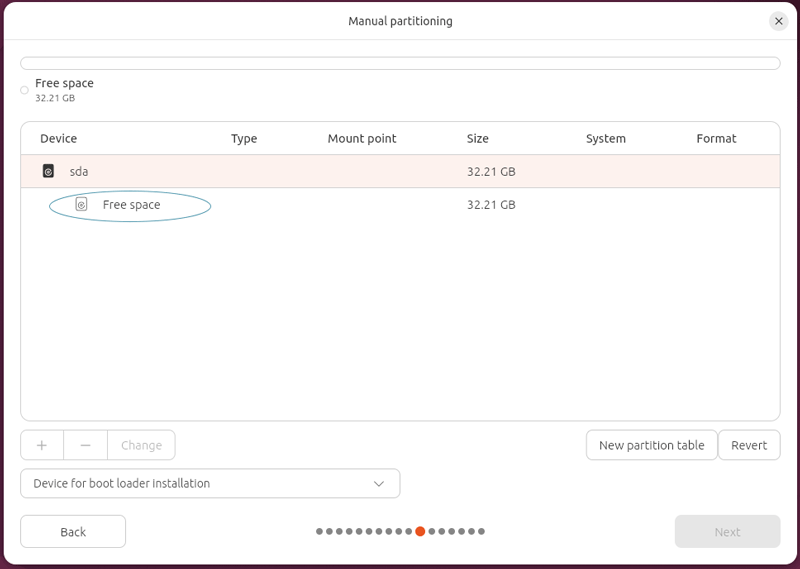
Select the disk where you want to install Ubuntu, then click the + button. It opens a new window. The opened window contains three form fields: Size, Used as, and Mount point.
| Field | Meaning |
| Size | Set the partition size. It lists supported units in a dropdown. It automatically converts the specified size to the selected unit. |
| Used as | List supported file systems for partitions. You can select only one file system for each partition. |
| Mount point | List mount points for partitions. You can choose only one mount point for each partition. The swap partition does not need a mount point. |
Key points: -
- All fields are compulsory.
- You must specify the partition size and select the unit for the specified size.
- You must select a file system for each partition.
- You must select a mount point for each partition except the swap partition.
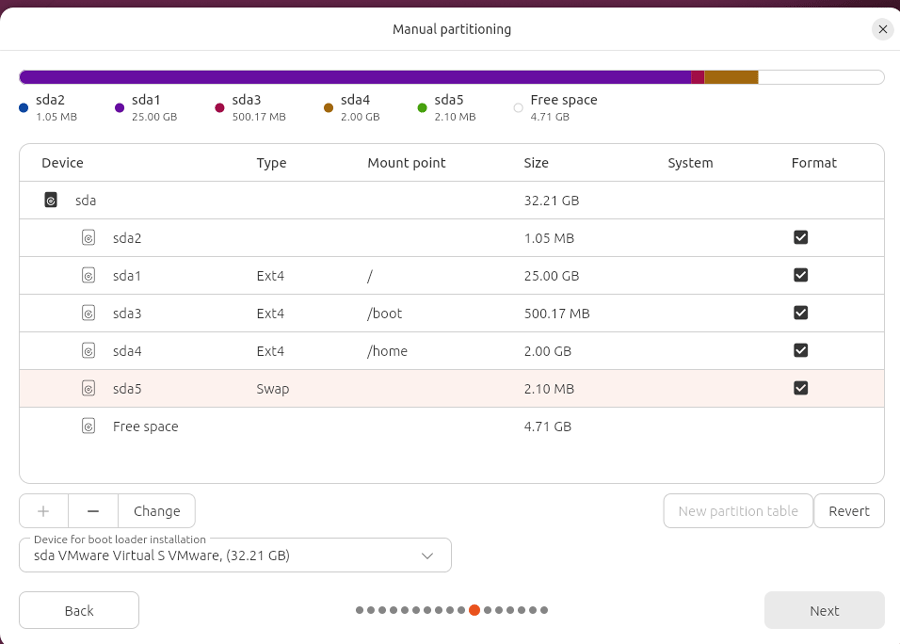
The following table lists the minimum recommended partitions for a manual installation.
| Size | Used as | Mount point |
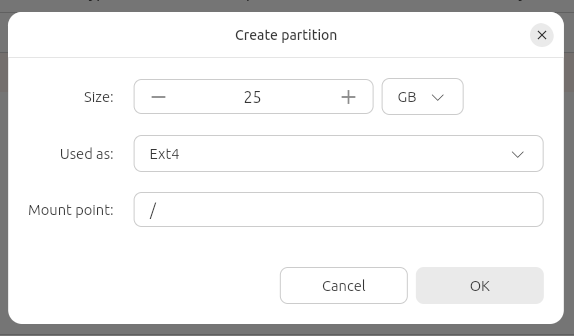
| 25 GB | Ext4 | / |
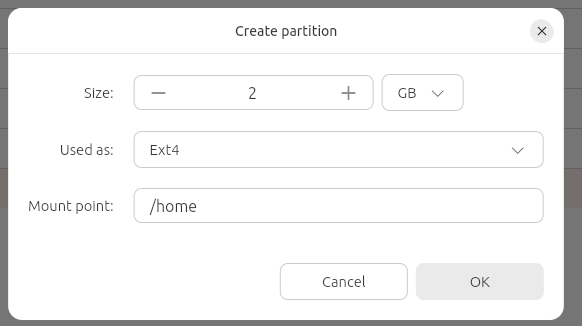
| 1 GB | Ext4 | /home |
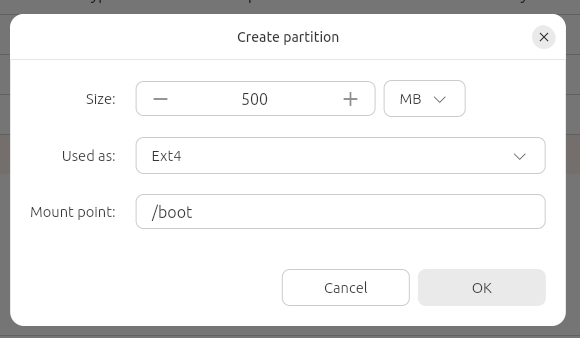
| 500 MB | Ext4 | /boot |
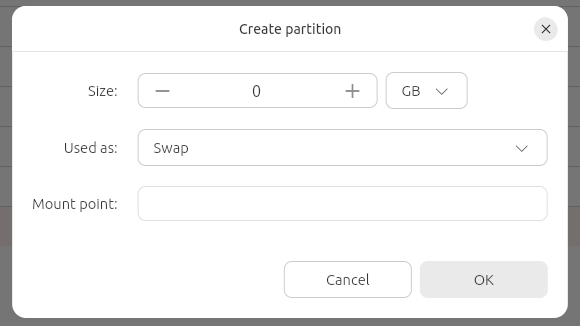
| 2 GB | swap | None |
To create a partition, follow these steps.
- Select the free space.
- Click the + (Add) button.
- Specify the size of the partition.
- Select the file system type.
- Select the mount point.
- Click OK to save the partition information.
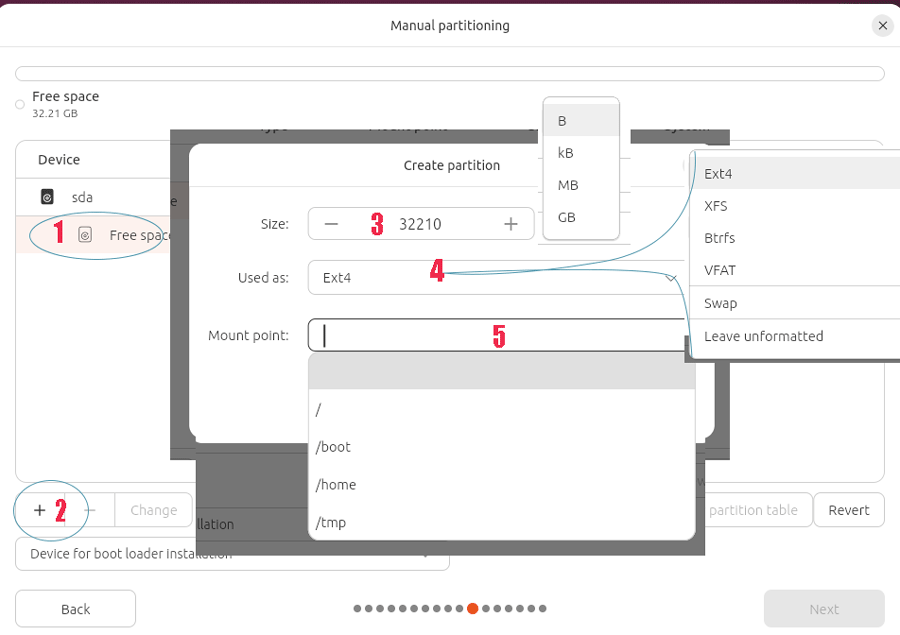
The root (/) partition
The /boot partition
The /home partition
The swap partition
The installation process does not write this partition information immediately. It keeps this information in RAM until we confirm the installation process after providing all compulsory information.
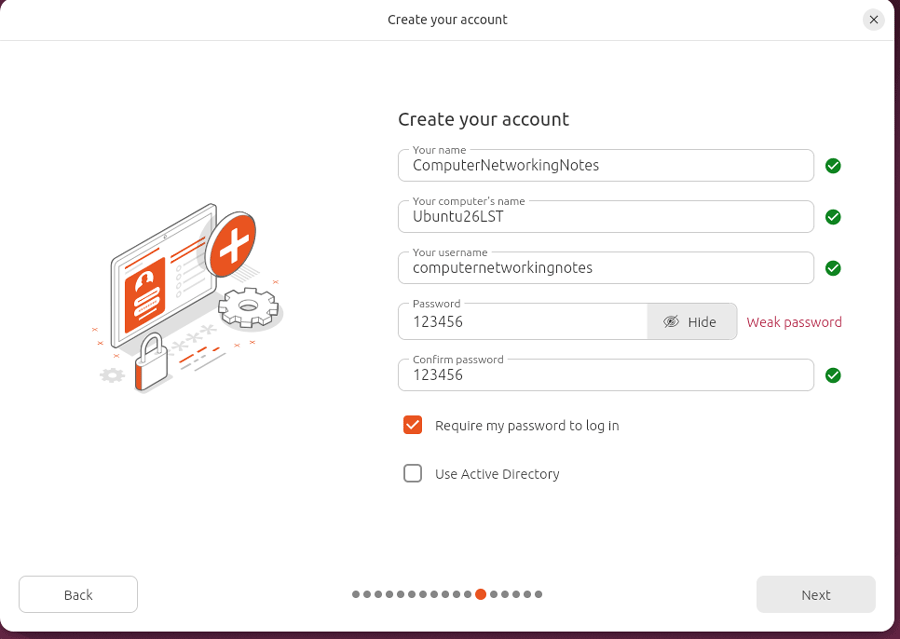
The next screen creates a user account and sets the computer name. It automatically generates the computer name based on the user name. You can use the auto-generated name or set it manually. When you set a password for the user account, it checks the password's complexity. On a production system, you should use a complex password. On a testing system, you can use a simple password.
After the password field, there are two options: -
- Require my password to log in
- Use Active Directory
If you uncheck the first option, it will not prompt this user to enter a password at the login screen. If you select the second option, you can use an Active Directory user account to log in.
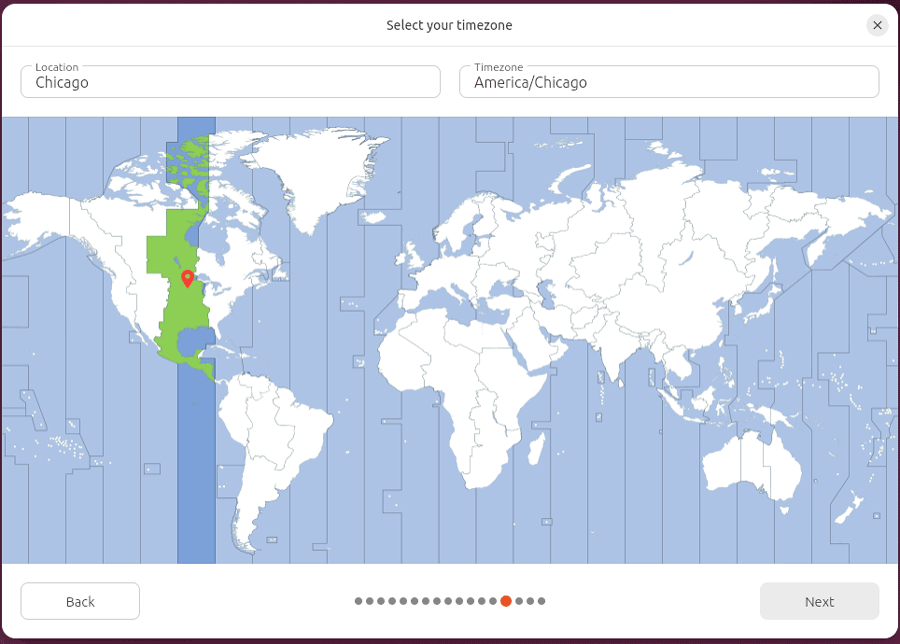
The next screen localizes the time zone. Click on the map to select your preferred time zone.
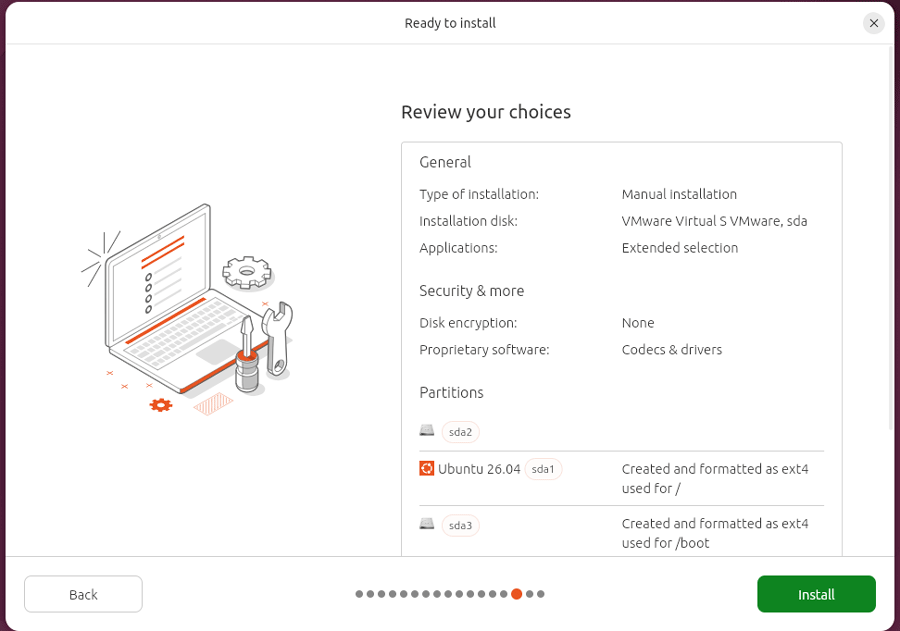
The next screen displays a summary of all settings. So far, it does not write anything to the disk. If you want to change any setting, use the Back button and go to that setting. Click the Install button to start the installation.
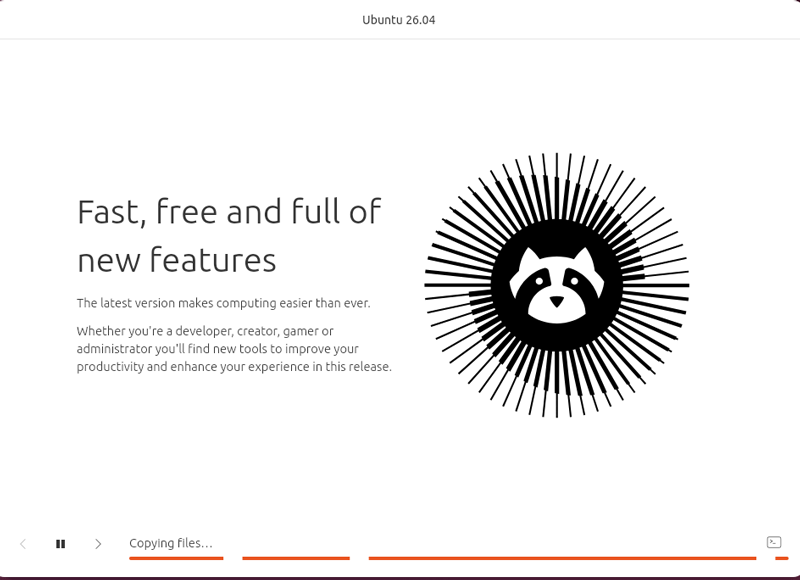
The installation process may take several minutes. During this process, it provides a detailed overview of Ubuntu's features and functions.
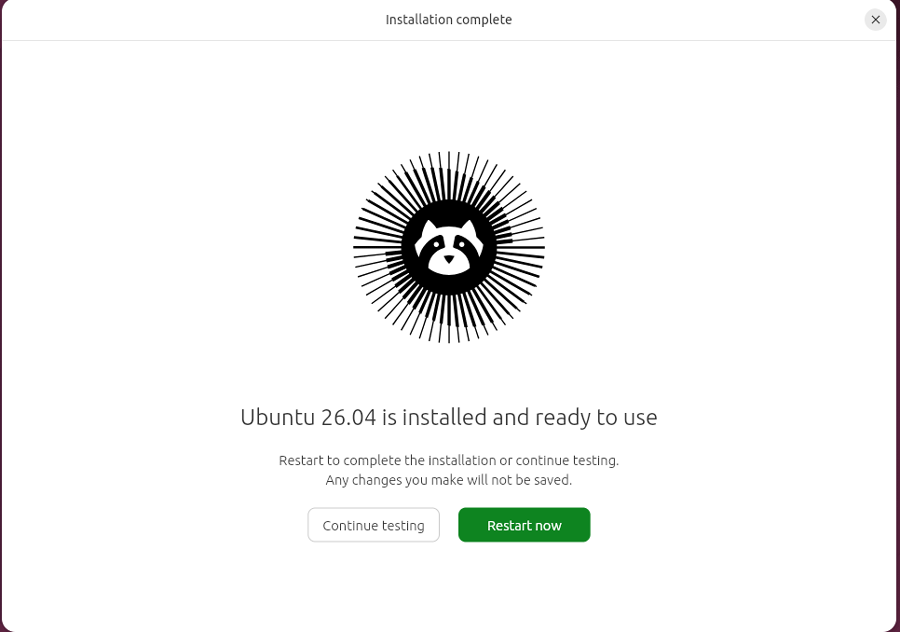
A few settings require a system reboot. The last screen asks us to restart the system. Remove the installation disk and restart the system.
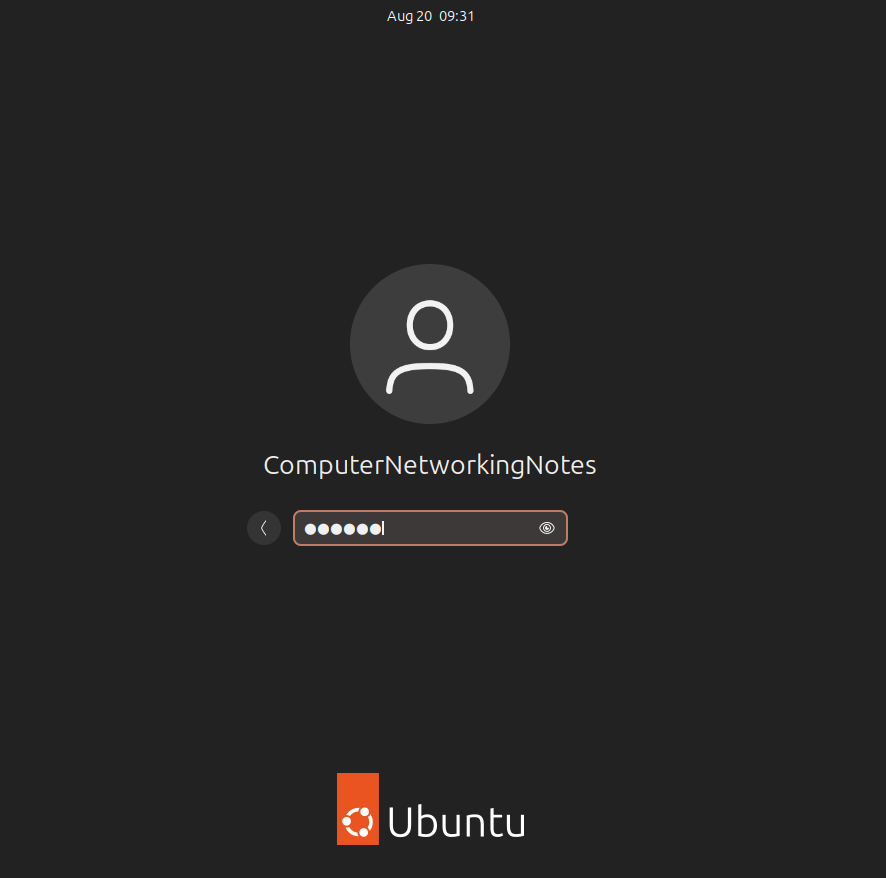
After booting, the installation process lists the default account we created on the login screen.
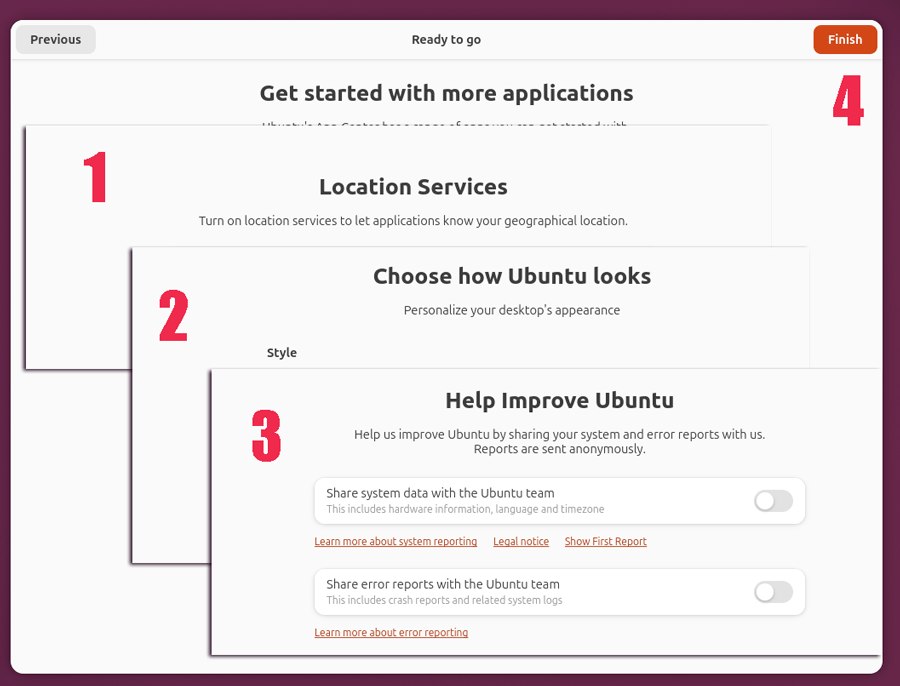
When we log in the first time, Ubuntu starts the initial setup wizard. This wizard allows us to adjust the following settings.
- Enable location services.
- Opt into sending device information to Canonical to help improve Ubuntu. By default, Canonical doesn’t collect device information.
- Customize the color scheme.
- Downloading additional apps from App Center.
If the system is connected to the internet, it checks for updates. If updates are available, it asks to download and install them. If you have allowed the installation process to connect to the Internet, it would already have installed the updates.
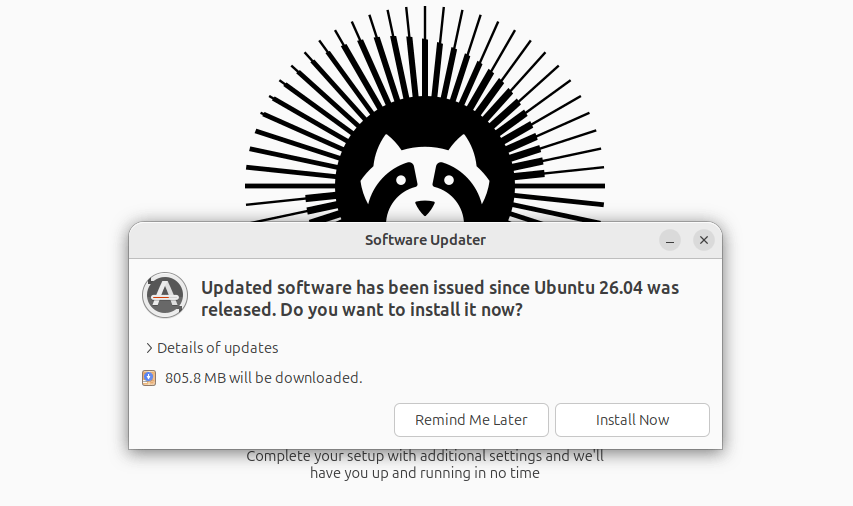
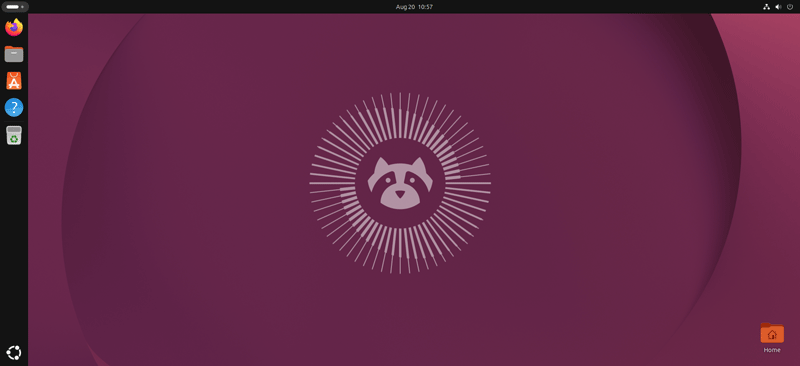
It completes our installation. Our Ubuntu is ready for use.
Conclusion
The Ubuntu installation process goes through several steps. In this tutorial, I explained those steps in detail with screenshots. Understanding these steps helps you perform a customized Ubuntu installation.
Author Laxmi Goswami Updated on 2026-08-21