Downloading and Installing VirtualBox
VirtualBox is an open-source project. Oracle Corporation developed it to provide a virtualization platform for testing and debugging applications in a virtual environment. It simulates physical computers. It allows us to build virtual computers and use them as physical ones. We can use it to create virtual labs for practice, debugging, troubleshooting, and other productivity-related tasks.
Downloading VirtualBox
We can download the latest version of VirtualBox from the following official web page.
https://www.virtualbox.org/wiki/Downloads

Download the installation file for the Windows system.
Installing VirtualBox on Windows 11
Open the folder that contains the installation file and double-click it.

The installation process starts in a wizard. The first screen presents a welcome message.
Click Next.

The next screen presents the licence agreement. To install VirtualBox, we must accept the licence agreement.
Accept the licence agreement and click Next.

The next screen allows us to customize the features and destination location. Unless you have a specific reason, keep the default selection. By default, it installs VirtualBox in the Program folder of the Windows partition. The Browse button allows us to select another folder. Select the necessary features and desired destination location and click Next.

The next screen displays a warning message indicating the installation process will reset the network connection. If you are performing any network-related activity, such as downloading or uploading files, complete that first. If not, click Yes to continue the installation process.

VirtualBox requires the Python Core / win32api packages. If it does not find these packages on the host system, it will display a missing dependencies error on the next screen and prompt us to download and install them first. If we authorize the wizard, it downloads and installs all missing components.
Click Yes to allow the wizard to download and install missing packages.

The next screen presents the following four options: -
- Create Start menu entries
- Create a shortcut on the Desktop
- Create a shortcut in the Quick Launch Bar
- Register file associations
The first option creates Start menu entries that allow us to start VirtulBox from the Start menu after the installation.
The second option places a shortcut on the Desktop to start the application.
The third option creates a shortcut in the Quick Launch Bar for the same purpose.
The fourth option registers the extension it uses for the virtual hard disks to the Windows launcher program.
Keep default or select applicable options and click Next.

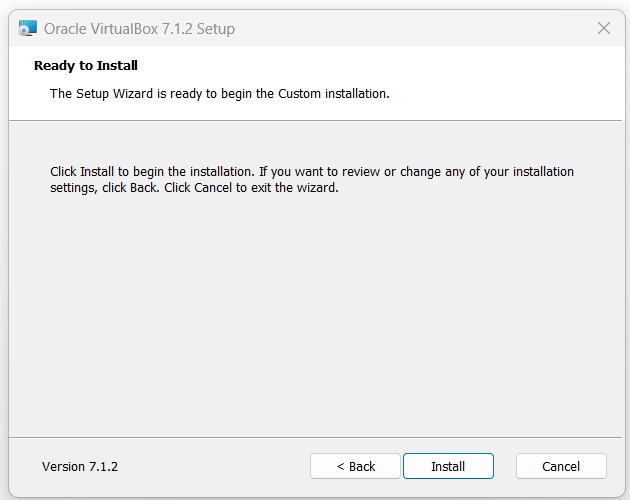
The next screen takes confirmation before installing VirtualBox. If you want to change any option or modify the configuration value, go back and update that. To install VirtualBox with the selected options, click Install.
The wizard starts the installation process. If it finds any missing dependencies, it downloads and installs them first. After that, the network connection is re-configured to make it accessible to virtual machines. At last, it copies binary and configuration files to the selected destination directory. This process takes a few minutes.

The last screen confirms the installation. It also has an option that automatically starts the VirtualBox after the wizard closes.
Click Finish to close the wizard.

Starting VirtualBox
Depending on the options we have selected during the installation, we can start VirtualBox from the Start menu, Quick Launch bar, and Desktop.

The left pane of the home screen displays virtual machines. The right pane shows the selected virtual machine's hardware, settings, and configurations in the left pane.

This tutorial is part of the tutorial series 'How to create, configure, and set up a virtual lab on VMware Workstation or VirtualBox to practice RHCSA/RHCE exam topics'. Other parts of this series are the following.
Chapter 01:- RHCE Practice Lab Setup in VMWare and VirtualBox
Chapter 02:- Downloading and Installing VirtualBox
Chapter 03:- Downloading and Installing VMware Workstation Pro
Chapter 04:- RHEL Installation Step-by-Step Explained with Screenshots
Chapter 05:- RHCE Practice Lab Initial Configurations Explained
Conclusion
VirtualBox offers a convenient and efficient way to create and manage virtual environments. Following the steps outlined in this tutorial, you can easily download and install VirtualBox on Windows 11.
By ComputerNetworkingNotes Updated on 2025-10-29