Screen or Desktop Sharing on Linux Explained
Desktop or screen sharing allows you to share your desktop with clients. Clients can view whatever you have or are doing on your desktop. Whether they can modify any files or features on your desktop depends on your configuration. If your configuration denies it, they cannot modify any files or features on your desktop. This feature is ideal for presentation. You can run your presentation, program, script, or file on your computer and share your desktop with clients. Clients can view the thing running or happening on your desktop without controlling or modifying it. If your configuration allows remote control, remote users can modify your system settings and files. It is ideal for troubleshooting. If you are stuck somewhere or some configurations or services are not working as expected, you can share your desktop with administrators and allow them to control it remotely. They can fix your problems or provide solutions remotely, without visiting your system. This tutorial explains how to configure, verify, and manage Desktop or screen sharing on RHEL Linux.
Lab setup
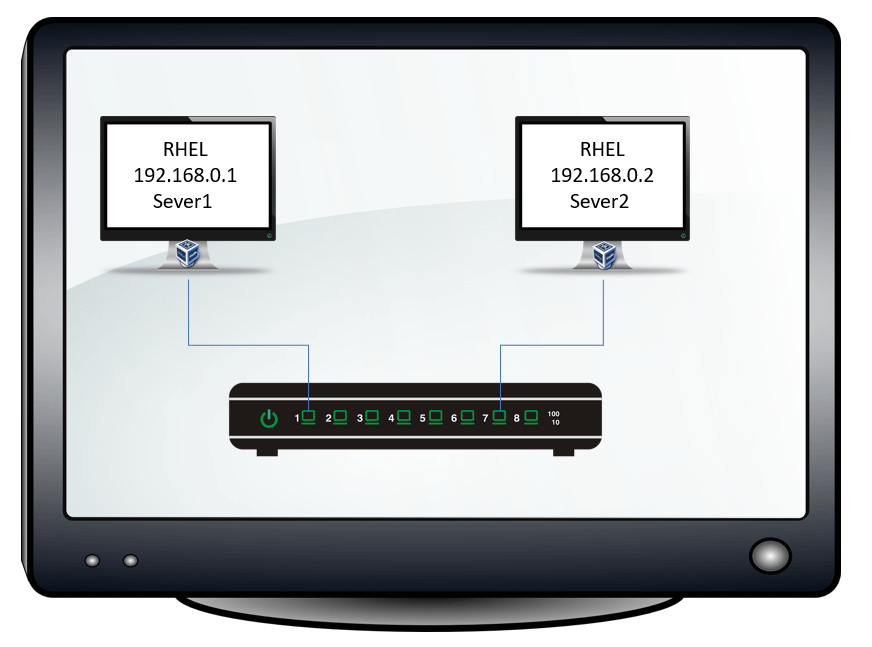
To explain and demonstrate Desktop or screen sharing, this tutorial uses the following lab. This lab contains two RHEL systems. Both systems are connected and have valid IP configurations. Local software repositories are configured on both systems.
The following tutorial explains how to set up this lab on VMware Workstation or VirtualBox.
RHCE Practice Lab Setup in VMWare and VirtualBox
The following tutorial explains how to configure local software repositories from the installation disk.
How to Configure Local Repository in RHEL Linux
Configuring and enabling Desktop sharing for view only
The gnome-remote-desktop package provides the Desktop sharing feature. This package is part of the GNOME desktop environment. If the GUI is installed, it should already be installed. Use the following command to check whether it is installed.
#dnf list installed gnome-remote-desktop
If the package is not installed, use the following command to install it.
#dnf install gnome-remote-desktop
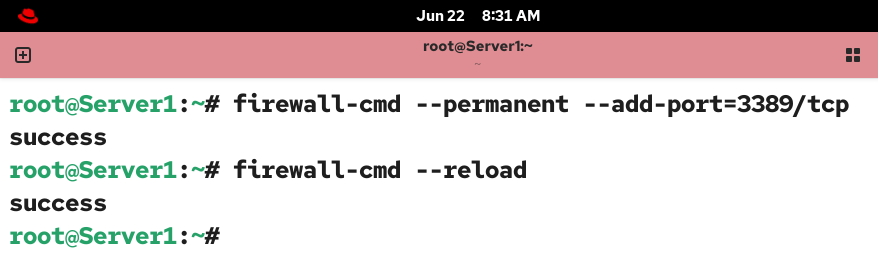
GNOME accepts incoming remote Desktop sharing connections on TCP port 3389. By default, this port is not open in the firewall. Use the following command to open this port in the firewall.
#firewall-cmd --permanent --add-port=3389/tcp
Reload the firewall to apply the change.
#firewall-cmd --reload
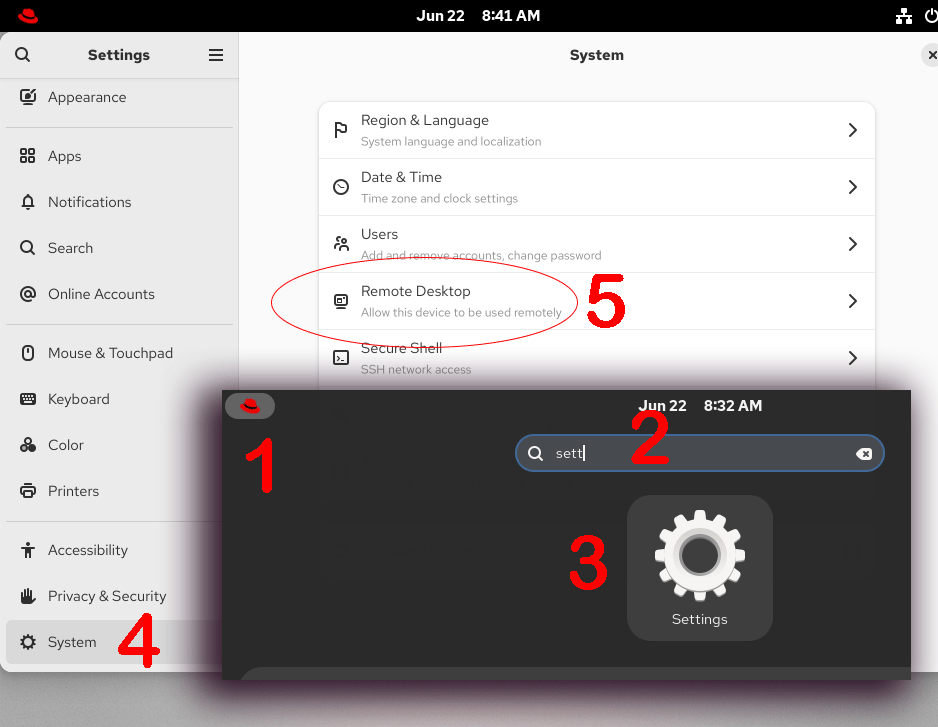
Open Settings and click the System option in the left pane. Select the Remote Desktop option in the right pane.
The Desktop Sharing screen has the following options.
| Desktop sharing options | |
| Desktop Sharing | This option enables desktop sharing. |
| Remote Control | If you enable this option, the remote user can control the host system. |
| How to connect | |
| Hostname | This option sets the hostname. You need this name to initiate a remote connection from the client system. Instead of this name, you can use the IP address of this system. |
| Port | This option lets you use a custom port for the connection. 3389 is the default. If you customize this port, open it in the firewall. |
| Login Details | |
| Username | Set a username for the remote connection. |
| Password | Set a password for the remote connection. You can use any password or use the Generate New Password option to generate and set a complex password. You can also view the generated password. |
To enable Desktop Sharing only for viewing, enable the Desktop Sharing option while keeping the Remote Control option disabled.
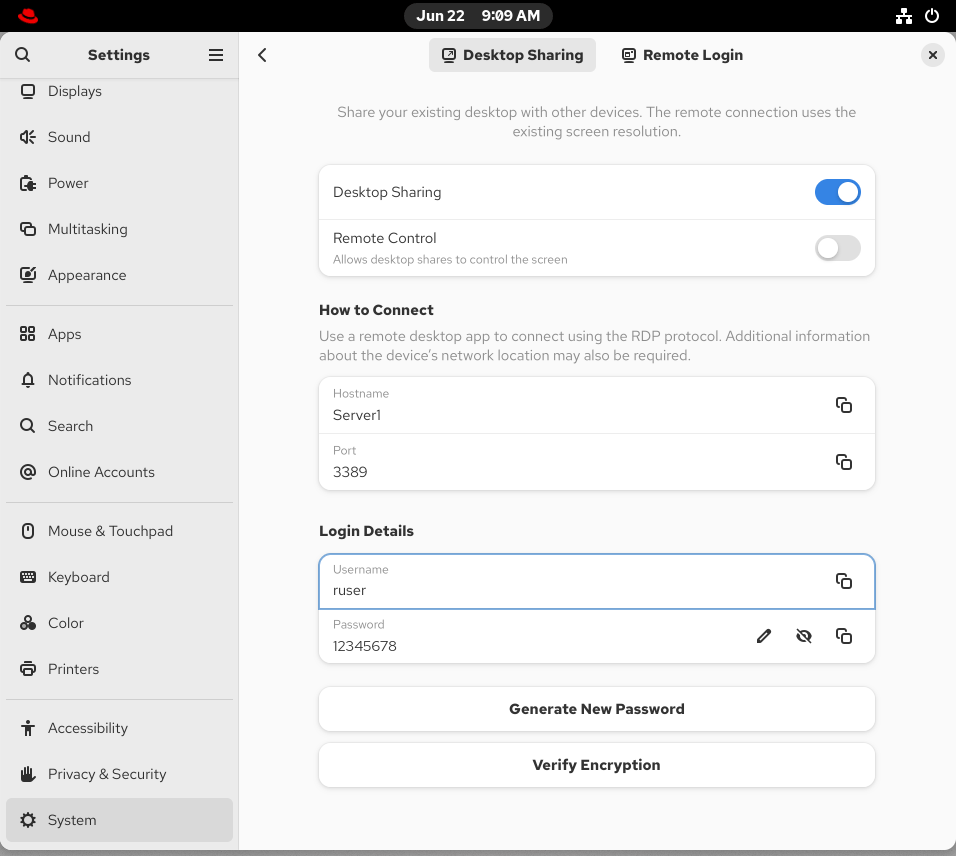
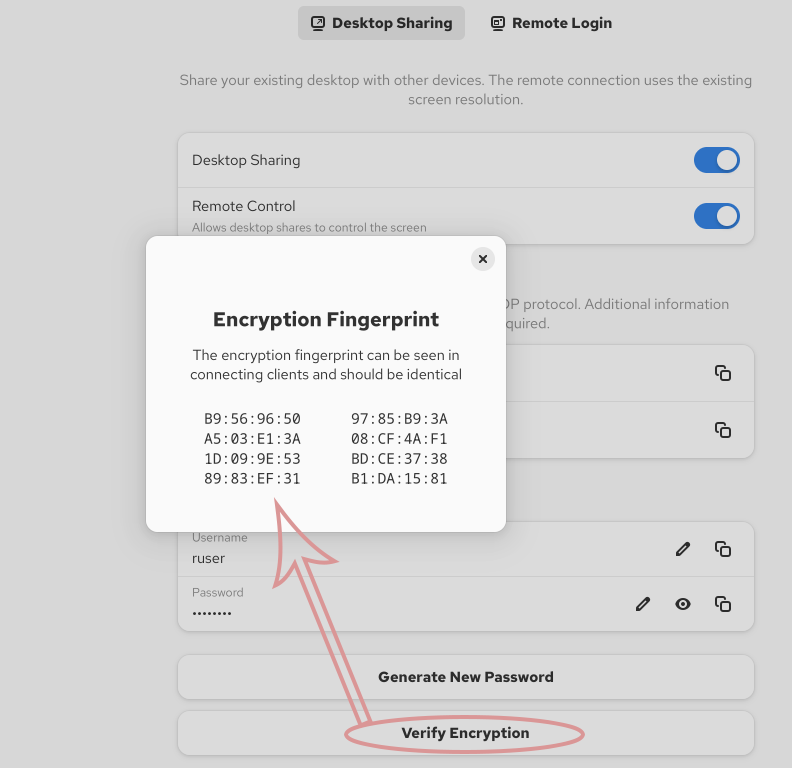
The Verify Encryption button displays the machine's fingerprints. These fingerprints are displayed when you initiate a remote connection from the client machine. You can match both fingerprints to confirm the identity of this machine.
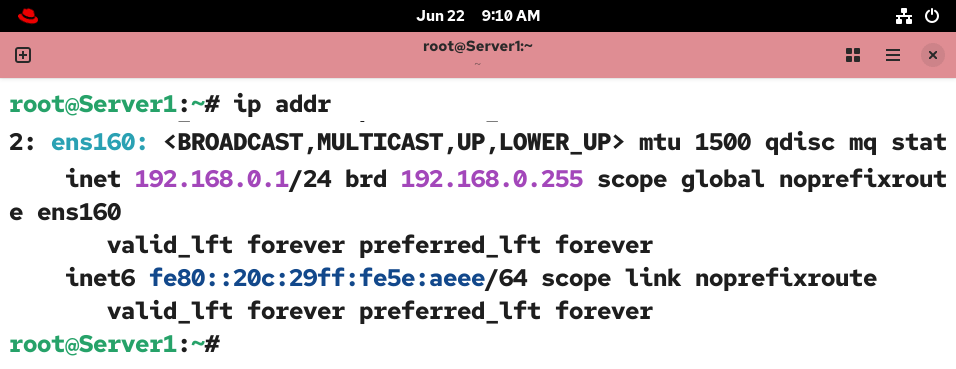
Run the ip addr command and note down the server’s IP address.
Testing and verifying Desktop Sharing
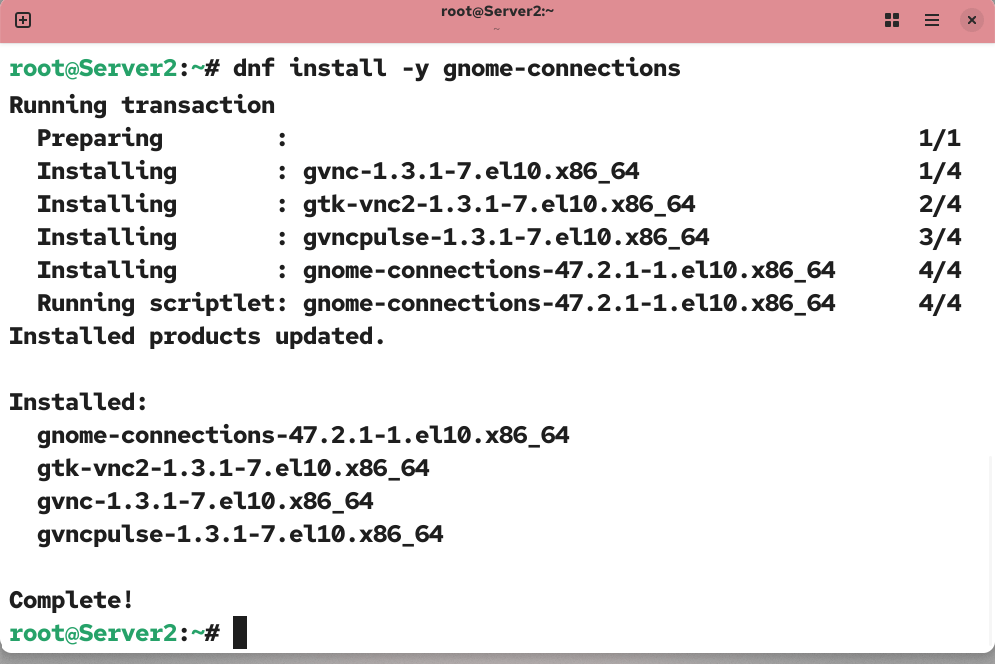
On the client system, you need the gnome-connections package to initiate a remote connection. This package is not a part of the default installation. Use the following command to install it.
#dnf install -y gnome-connections
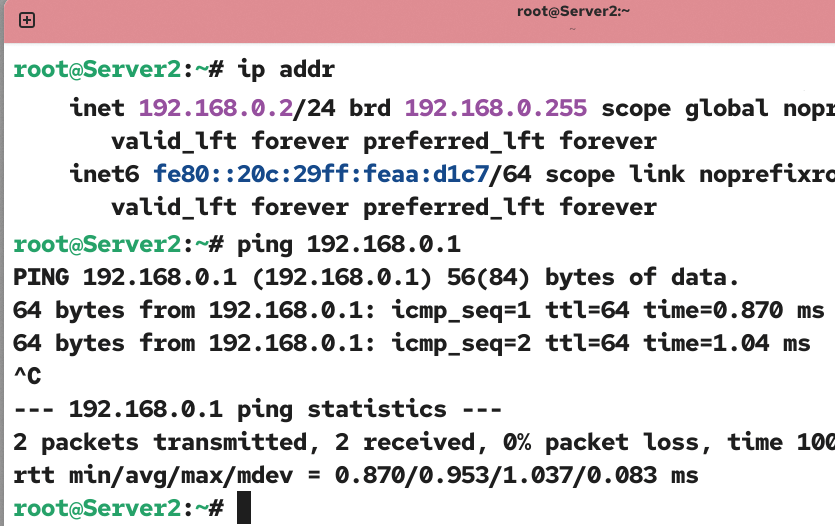
Test connectivity with the server system.
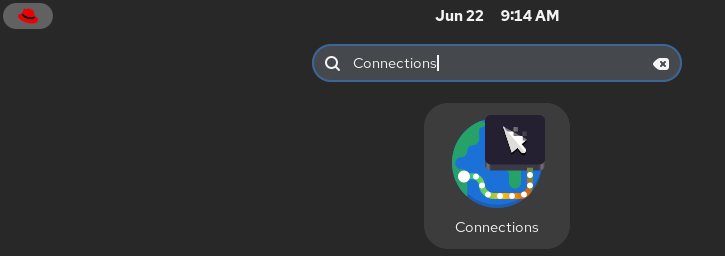
Open the Connections application.
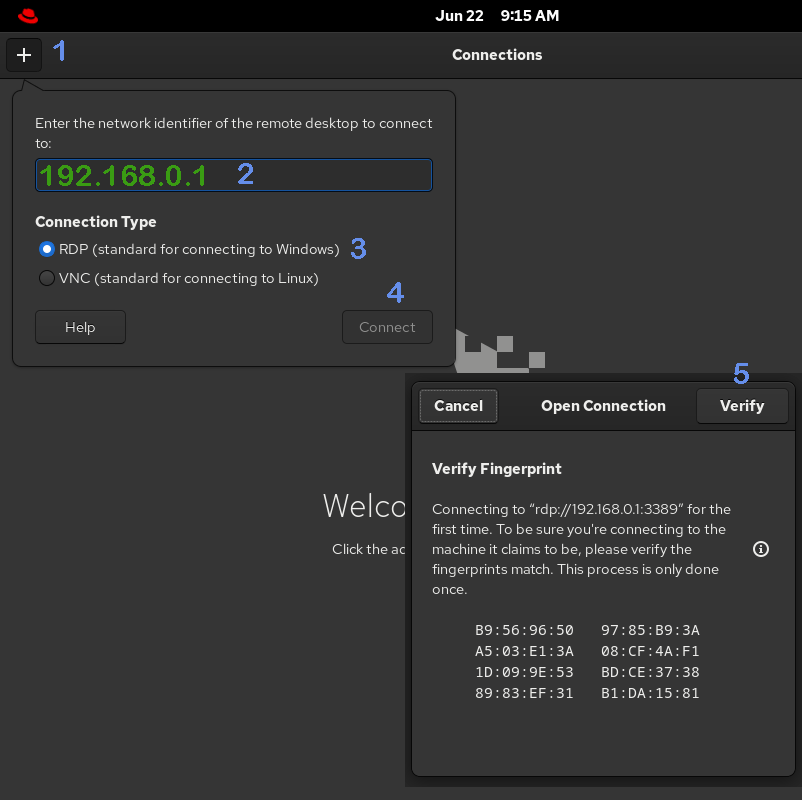
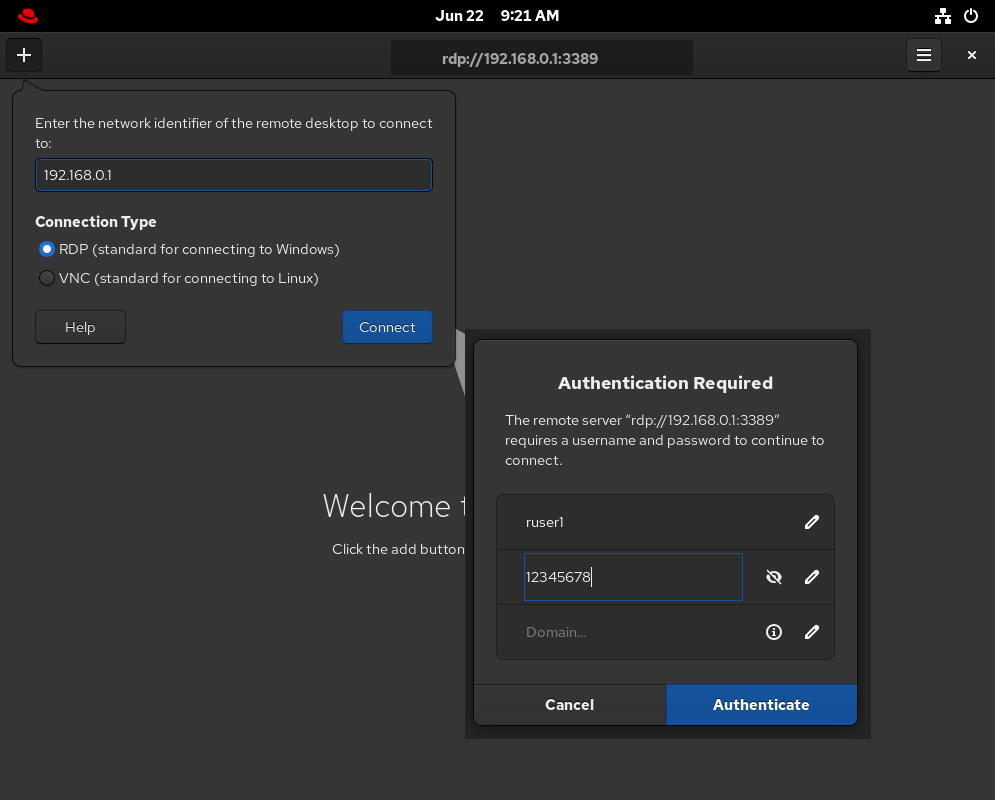
Click the + button to initiate a new remote connection. You have two options for initiating a new connection: RDP and VNC. RDP is a new and default protocol for remote connections since RHEL 10. VNC is deprecated. Use RDP if the remote machine is running RHEL 10 or higher. Use VNC if the remote machine is running RHEL 09 or lower.
Enter the server’s IP address and click Connect. When you connect for the first time, it displays the remote machine's fingerprints. Verify the fingerprint.
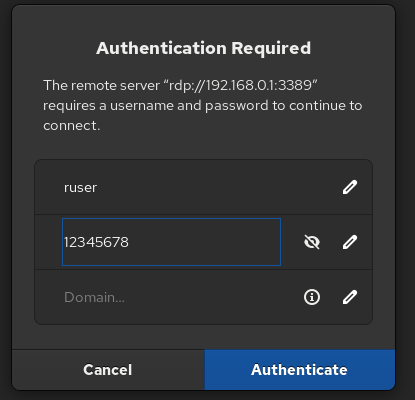
Enter the username and password you set for the remote user on the server system.
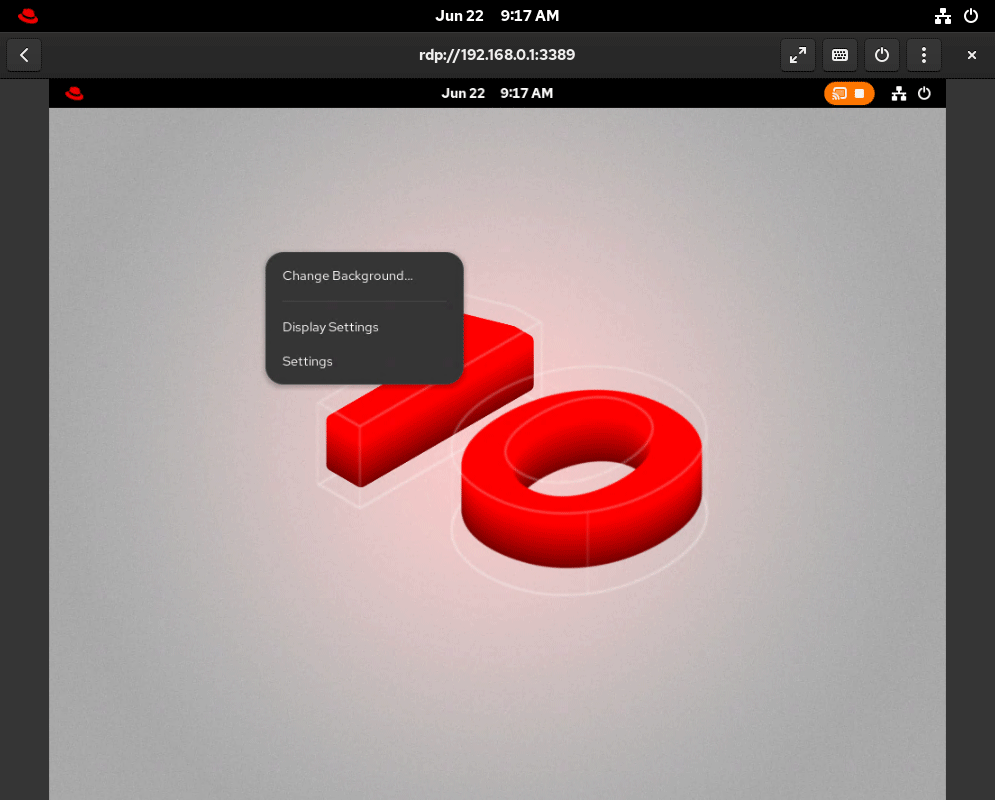
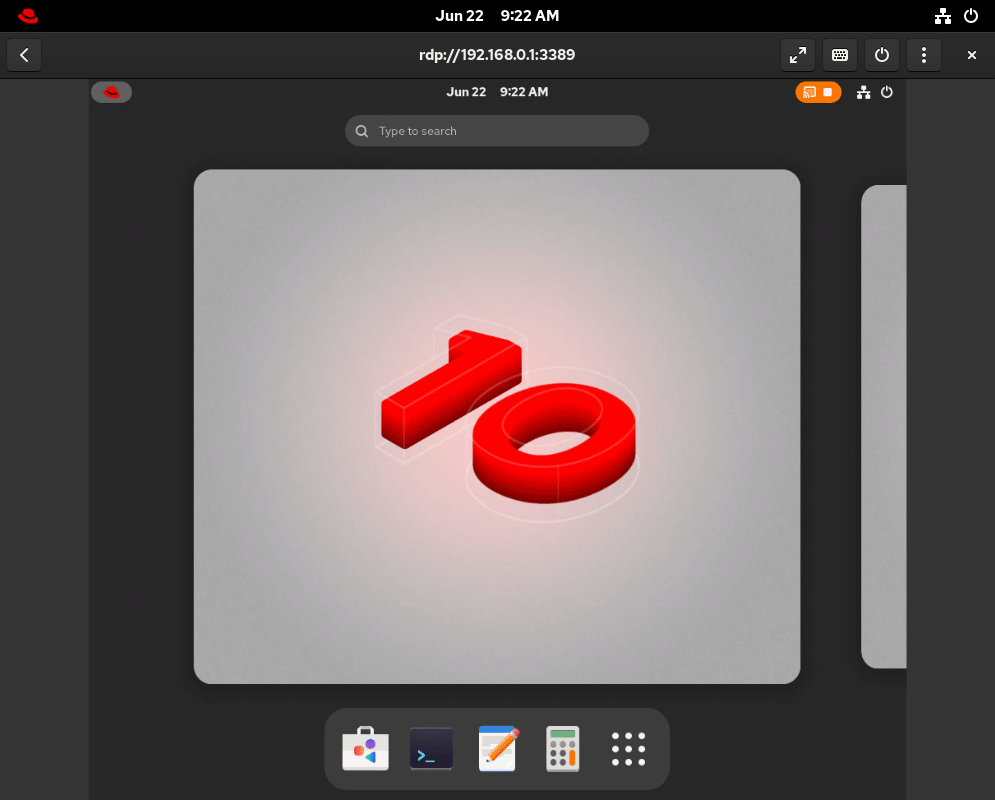
After successful authentication, it establishes a remote connection to the server and displays the server's desktop. Since you haven’t enabled the remote control, you cannot make any changes from the client system.
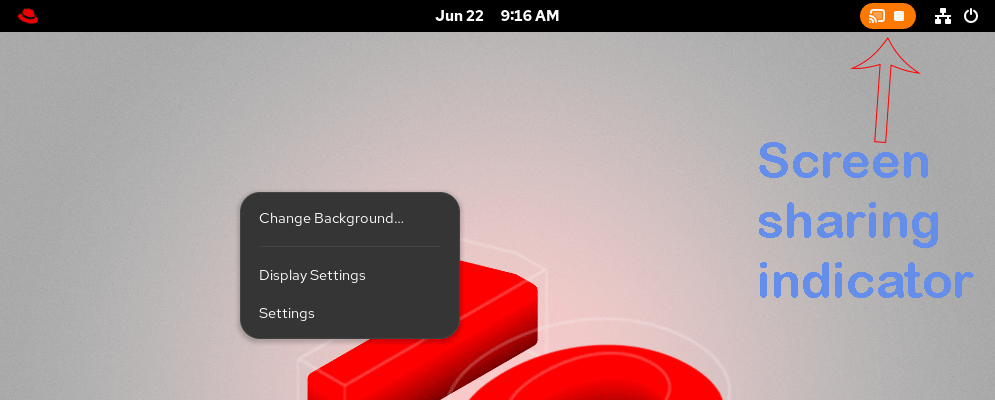
On the server, a screen-sharing indicator occurs on the right side of the top bar.
Configure and enable Desktop sharing with full control
To allow a remote user to control your system, enable the Remote Control option on the server.

Reload the daemon and restart the gnome-remote-desktop service.

Change applies to a new connection. On the client, close the existing connection and delete the connection profile.

Open a new remote connection.
Once the connection is established, you will see the server’s desktop.
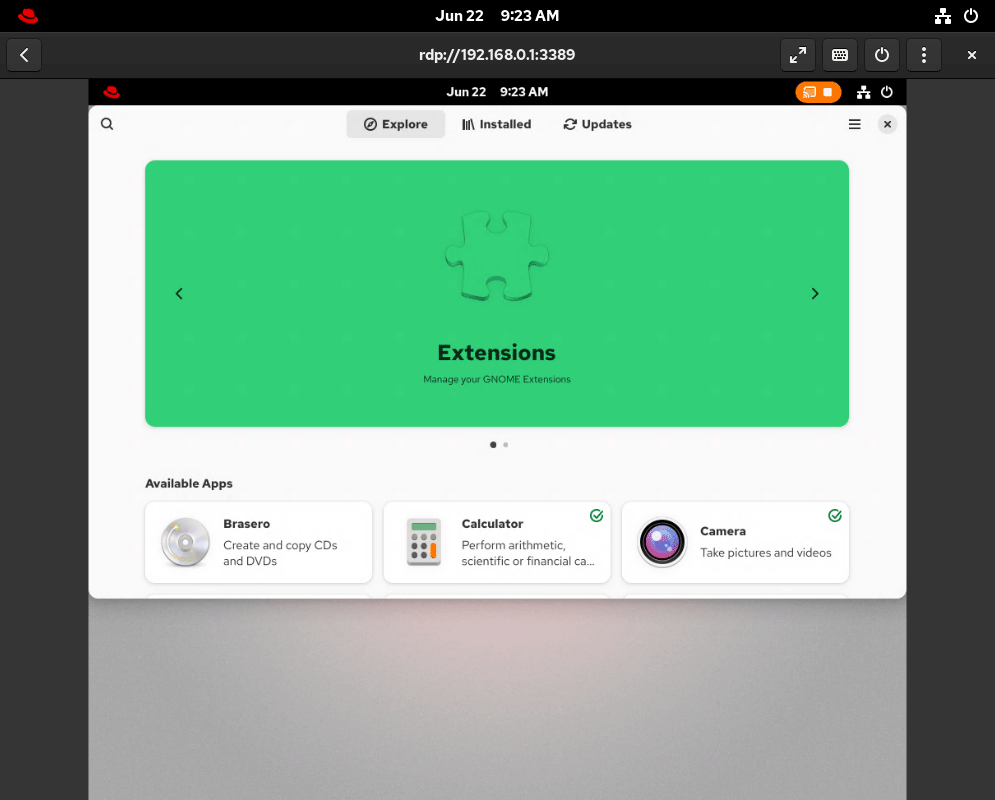
Since the Remote Control option is enabled, you can control the server system from the client. To verify this, open an application on the server system from the client system.
Do not share the remote user's username and password with external users if the Remote Control option is enabled. If this option is enabled, a remote user can make any change to your system. This option grants full permission to the remote user.
Conclusion
Desktop sharing lets you share your desktop with others for presentations and troubleshooting. This tutorial explained how to configure, verify, and manage it for both purposes.
By ComputerNetworkingNotes Updated on 2026-06-23